
To replace your shower head without leaks, gather tools like an adjustable wrench, pliers, teflon tape, and screwdrivers. First, turn off the water supply. Remove the old head counterclockwise, note its thread pattern, and wrap new head and arm threads with teflon tape. Reattach clockwise until snug. Clean existing arm and base, align the new head, and secure firmly. Test for leaks by opening each valve individually. If leaks occur, tighten connections and recheck. Follow these steps for a secure fit and enhanced shower experience as outlined in our guide: How to Replace a Shower Head.
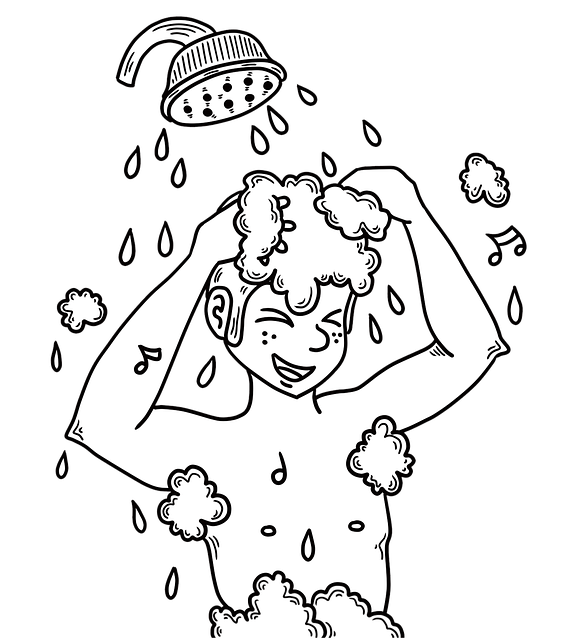
Learn how to replace your shower head like a pro with our step-by-step guide. This simple DIY project can help you avoid embarrassing leaks and drips, ensuring a steady flow of water during your daily routine. We’ll walk you through gathering the necessary tools and materials, removing the old shower head without hassle, and installing a new one with confidence. No more dealing with unwanted water splatter!
- Gather Tools and Materials
- Remove the Old Shower Head
- Install the New Shower Head and Test for Leaks
Gather Tools and Materials

To replace your shower head without leaks or drips, gather the necessary tools and materials first. You’ll need an adjustable wrench or pliers for removing the old shower head, a new shower head that matches your preferences (make sure it’s compatible with your existing shower arm), teflon tape or pipe compound, and possibly a set of screwdrivers if your shower head is secured with screws. Don’t forget to prepare some towels nearby; you might encounter some residual water during the process.
Once you have everything in hand, turn off the water supply to your shower. This step is crucial as it prevents any unexpected drips or leaks while you work. Remove the old shower head by unscrewing it counterclockwise using the appropriate tool. Take note of how the threads look on the shower arm for future reference. Wrap a generous amount of teflon tape around the threads of both the new shower head and the shower arm to ensure a secure, leak-free connection. Finally, reattach the shower head by screwing it back onto the arm in a clockwise direction until it’s snug.
Remove the Old Shower Head
To begin replacing your shower head, the first step is to remove the old one. Start by turning off the water supply to your shower – this is usually done with two valves located under the sink or in the basement. Once the water is shut off, use a pair of pliers or a socket wrench to loosen and remove the existing shower head. Be careful not to twist or pull too hard, as this could damage the threads on the shower arm. After unscrewing it, gently pull the old shower head straight out. It’s possible that some calcium deposits or rust may have built up over time, making removal a bit more challenging. If that’s the case, try soaking the area in white vinegar for a few hours before attempting to remove it again.
Install the New Shower Head and Test for Leaks

After removing the old shower head, carefully clean the shower arm and base to ensure no debris or calcium buildup remains. This step is crucial for a secure and leak-free fit. Once cleaned, take your new shower head and align it with the arm. Twist it firmly into place using a wrench or pliers if necessary. Ensure it’s securely attached but avoid excessive force to prevent damage.
With the new shower head installed, turn on the water supply to test for any leaks. Start by opening each valve individually and observing the connections. If there are no drips or leaks, you’ve successfully replaced your shower head. Otherwise, turn off the water, tighten the connections, and recheck. It’s a simple process that can significantly enhance your shower experience.
Replacing a shower head is a straightforward process that can significantly enhance your bathing experience. By following these simple steps, you can bid farewell to leaks and drips, ensuring a stress-free and enjoyable shower routine. With the right tools and a bit of patience, you’ll be well on your way to creating a more efficient and pleasant bathroom environment. So, why wait? Get ready to transform your shower with this easy DIY project!