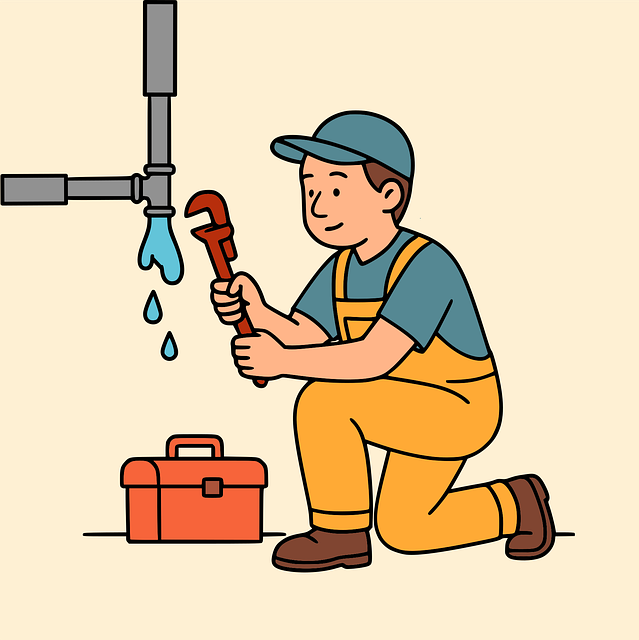
Before fixing a leaky faucet, identify its type (single-handle or two-handle), gather tools like wrenches and pliers, turn off the water supply at shut-off valves, and protect your counter. For compression faucets, replace worn-out O-rings or washers to stop leaks. Cartridge faucets may require cartridge or valve stem replacements, along with disassembling and reassembling the faucet for successful repair, as outlined in "How to Fix a Leaky Faucet."
Struggling with a leaky faucet? This step-by-step guide will help you fix it in no time. First, assess your faucet and gather the necessary tools, turning off the water supply to prevent any leaks during the process. Next, demontage is key; remove the handle, unpack the parts, and take note of their order for easy reassembly. After inspecting and replacing the damaged stem, cartridge, or valve, reconnect the water supply and test your repair. Finally, reattach the handle and decorative parts to enjoy a leak-free faucet once again.
Assess and Prepare

Before you begin repairing your leaky faucet, it’s crucial to assess and prepare for the task. Start by identifying the type of faucet you have—single-handle or two-handle—as this will determine the specific tools and replacement parts needed. Gather all required tools, such as wrenches, pliers, and a new faucet repair kit, ensuring they fit the size of your faucet’s components. Turn off the water supply to prevent leaks during the process; locate the shut-off valves under the sink or in the basement and close them tightly. Prepare an old towel or container to catch any excess water and protect your counter from damage.
– Identifying the type of faucet

When faced with a leaky faucet, the first step is to identify its type. Kitchen and bathroom faucets often use either compression or cartridge-based valves. Compression fixtures have two handles — one for hot water and another for cold — and rely on a washer to stop water flow. Cartridge faucets, common in modern homes, feature a single handle that controls both temperature and pressure through an internal cartridge mechanism.
Understanding your faucet’s type is crucial because it dictates the disassembly process and replacement parts needed. This knowledge allows you to effectively navigate the How to Fix a Leaky Faucet challenge, ensuring a successful repair without unnecessary complications.
– Gather necessary tools and materials

Before you begin fixing your leaky faucet, it’s crucial to gather the right tools and materials. This typically includes an adjustable wrench or pliers for gripping tight parts, a screwdriver (flathead or Phillips, depending on your faucet), a new O-ring or washer specific to your faucet model, and plumbing tape. If your faucet has different components like a cartridge or valve stem, you might need replacements for those as well. Having these ready ensures a smooth repair process for your How to Fix a Leaky Faucet.
Once you have everything you need, the first step is usually to turn off the water supply to your faucet. This prevents leaks during the repair and makes the job safer. After that, you can start disassembling the faucet, often by removing the handle and then taking apart the spout. Keep track of where each part belongs for easier reassembly later. The leaky part will reveal itself as you dismantle, whether it’s a worn-out O-ring or a damaged washer. By replacing these parts with new ones, you can stop that pesky leak and have your faucet working like new again.
Fixing a leaky faucet is an easy, cost-effective do-it-yourself project that can save you money on your water bills. By identifying the type of faucet and gathering the right tools, you’re already halfway there. Following these simple steps, you’ll have a firm grasp on how to fix a leaky faucet in no time, stopping the constant drip and saving you from potential water damage.
