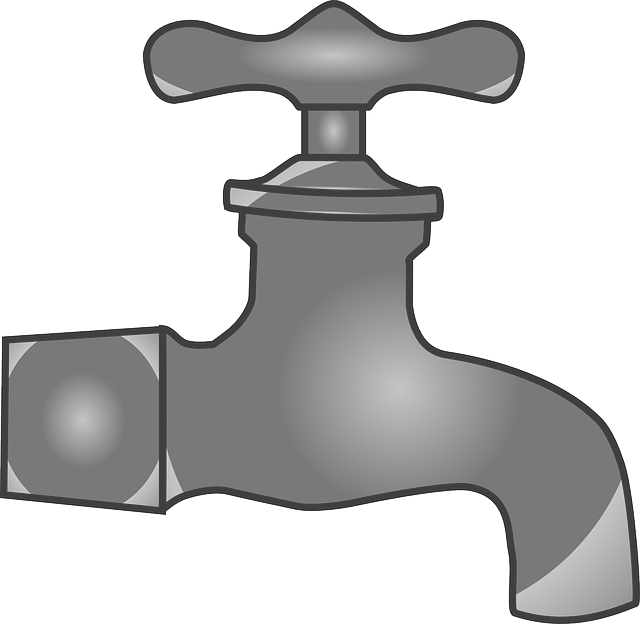
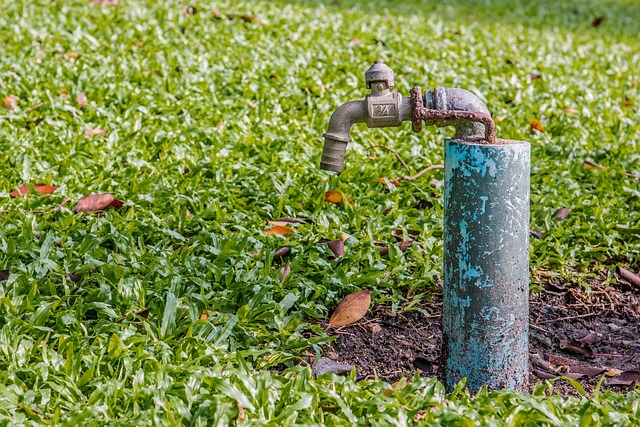
To fix a leaky faucet, start by assessing its location and frequency. Use a flashlight to inspect handle, spout, and internal components for damage. Turn off the water supply valves beneath the sink. Identify specific issues like worn-out O-rings or washers. Ensure you have necessary tools (pipe wrenches, replacement parts) ready for a smooth DIY repair process.
How to Fix a Leaky Faucet: A Step-by-Step Guide
A leaky faucet can be more than just an annoyance—it wastes water and can lead to higher water bills. Fortunately, fixing a leaky faucet is a relatively simple DIY project. This guide will walk you through the process, from assessing the leak to reassembling and testing your faucet, ensuring you’re equipped with the knowledge to tackle this common household issue.
Assessing the Leaky Faucet:
– Identify the type of faucet and the leak’s source.
– Gather the necessary tools and supplies.
Disassembling and Repairing:
– Turn off the water supply.
– Remove the handle and inspect parts, replacing worn O-rings or washer seals.
Reassembly and Testing:
– Reassemble in reverse order, test for leaks, tighten connections, and adjust flow settings as needed.
- Assessing the Leaky Faucet
- – Identifying the type of faucet and the source of the leak
- – Gathering necessary tools and supplies
Assessing the Leaky Faucet

When faced with a leaky faucet, the first step is to assess the issue. Start by observing the leak’s location and frequency. Is it a steady drip or an intermittent gush? This observation will guide your next steps. Check both the handle and spout for any visible damage, loose parts, or calcification. Turn off the water supply valves beneath the sink to prevent further wastage while you work on fixing the problem.
Use a flashlight to inspect the faucet’s internal components if accessible. Look for worn-out O-rings, cartridges, or washers that might be the cause. Understanding the specific issue is crucial when learning how to fix a leaky faucet effectively.
– Identifying the type of faucet and the source of the leak

When faced with a leaky faucet, the first step is to identify its type and the source of the leak. Different faucets have distinct designs and repair processes. For instance, an older faucet might have a single-handle cartridge that needs replacement, while a modern one could feature complex valve mechanisms. Visual inspection can help pinpoint the problem area—is it the handle, the base, or the connections? Understanding these variations is crucial when learning how to fix a leaky faucet.
The source of the leak could be as simple as a loose washer or O-ring, which are common culprits in many faucets. Other times, it might involve more intricate issues like corroded parts or damaged valve seats. Proper identification ensures you have the right tools and replacement parts on hand, making the repair process smoother.
– Gathering necessary tools and supplies
Before you begin repairing your leaky faucet, it’s essential to gather all the necessary tools and supplies to ensure a smooth and successful DIY project. This typically includes a wrench or pliers for loosening the pipes, replacement seals or O-rings (the common culprit behind many leaks), and a new faucet washer if needed. Don’t forget protective gear like gloves and an old towel to catch any potential water spills.
Having these essentials on hand will allow you to tackle the issue efficiently. Plus, knowing exactly what you need reduces the chances of mid-project interruptions as you rush to purchase missing items. With your tools and supplies ready, you’re one step closer to fixing that leaky faucet and potentially saving yourself some money in the process.
Fixing a leaky faucet is an easy, cost-effective DIY project that can save you money on your water bills. By following these simple steps and gathering just a few basic tools, you can identify the source of the leak and make repairs quickly to prevent further wasting of precious water. Remember, timely action on a leaky faucet can also help avoid more complex and costly plumbing issues down the line. With a little know-how, you’ll be well-equipped to handle this common household problem.