To fix a leaky faucet, first identify the source—common culprits include worn washers, O-rings, or loose connections. Different faucet types (single-handle, dual-handle, pull-down spout) require specific "How to Fix a Leaky Faucet" methods. Inspect and replace degrade parts like O-rings and washers; tighten connections or replace damaged pipes. Homeowners can easily tackle this DIY project thanks to its simple repairs and replaceable parts.
Tired of that pesky leaky faucet? You’re not alone. It’s a common household issue that can waste precious water and cause annoying disruptions. In this guide, we’ll show you how to fix a leaky faucet fast and efficiently. From identifying the source of the leak – whether it’s single-handle, dual-handle, or pull-down spout – to gathering the right tools and materials, and following a step-by-step repair process, we’ve got you covered. Learn how to shut off the water supply, replace faulty parts like O-rings and washers, and prevent future leaks with simple maintenance tips.
- Identify the Source of the Leak
- – Understanding different types of leaky faucets: single-handle, dual-handle, and pull-down spouts.
- – Checking for common leak causes: worn-out O-rings or washers, loose connections, or damaged supply lines.
Identify the Source of the Leak
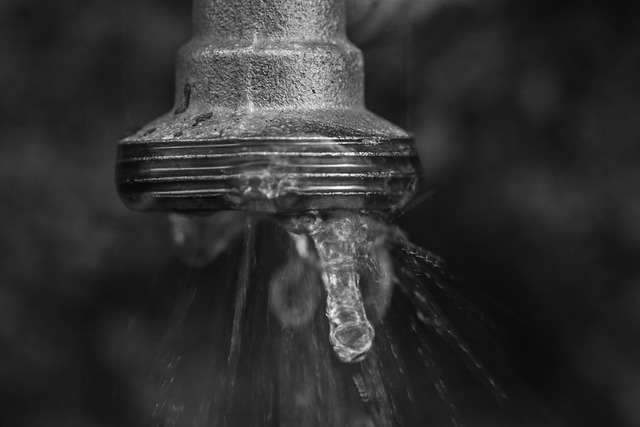
To start fixing your leaky faucet, the first step is to identify where the leak is originating from. This could be at the base of the faucet handle, where the spout meets the valve, or even along the supply lines. One common culprit is a worn-out washer or O-ring inside the faucet’s internal mechanism. These parts can degrade over time, allowing water to escape. Another potential source is loose connections between pipes and fittings, which may result in dripping. By carefully observing the affected area, you can pinpoint the specific issue, making it easier to proceed with the appropriate How to Fix a Leaky Faucet method.
– Understanding different types of leaky faucets: single-handle, dual-handle, and pull-down spouts.

Leaky faucets can come in various types, each requiring a specific approach for repair. The most common types are single-handle, dual-handle, and pull-down spouts. Single-handle faucets typically have one control valve that regulates both hot and cold water flow. A leak here usually originates from the cartridge or washer inside the handle mechanism. Dual-handle faucets operate with two separate handles for hot and cold water, making them easier to fix if one handle is faulty. The most common cause of leaks in these models is a worn-out O-ring or washer in one of the handles. Pull-down spouts, often found in kitchen sinks, feature a flexible hose connected to a nozzle that can move up and down. Leaks here can occur at the base of the spout, where the hose connects, or from the nozzle itself. Identifying the specific type of leaky faucet will help you determine the most effective DIY repair method for How to Fix a Leaky Faucet efficiently.
– Checking for common leak causes: worn-out O-rings or washers, loose connections, or damaged supply lines.
When faced with a leaky faucet, the first step in fixing it is to identify the source of the problem. Common causes include worn-out O-rings or washers, which are often the culprit in kitchen and bathroom faucets. Over time, these components can degrade, allowing water to escape from the seal. Inspecting these parts for wear and tear is a straightforward process and can be easily replaced if needed.
Additionally, loose connections and damaged supply lines should be checked. Deteriorated or poorly fitted pipes can lead to leaks, especially in older fixtures. Tightening these connections might resolve the issue, but if the pipes are severely damaged, they will need to be replaced. How to Fix a Leaky Faucet involves a combination of simple repairs and replacement parts, making it a manageable DIY project for many homeowners.
Fixing a leaky faucet isn’t as difficult as it seems. By identifying the type of leak and its source, whether it’s worn-out parts or loose connections, you can efficiently address the problem. With a few simple tools and some DIY skills, you’ll be able to stop the drip and save money on your water bills in no time. Remember, timely maintenance is key to preventing future leaks, so don’t let this small fix slip away!