To fix a leaky faucet (How to Fix a Leaky Faucet), first shut off water valves under the sink. Inspect for cracks or damage, replacing O-rings or cartridges if needed. If issues persist, consult a professional for complex problems like faulty supply lines. Gather essential tools including wrenches, pliers, and replacement washers. Disassemble, clean, and inspect the faucet, replacing damaged parts. Tighten fittings, reassemble, and test by turning on water to stop leaks.
Tired of that persistent dripping? Learn how to fix a leaky faucet fast with this simple guide. From identifying the source of the leak to gathering the right tools and materials, we’ve got you covered. Follow our step-by-step instructions to stop the water waste and save money on your utility bills. No more annoying sounds or unnecessary moisture! Get ready to tackle that leaky faucet head-on.
- Identifying the Source of the Leak
- Gathering the Necessary Tools and Materials
- Step-by-Step Guide to Fixing the Leaky Faucet
Identifying the Source of the Leak

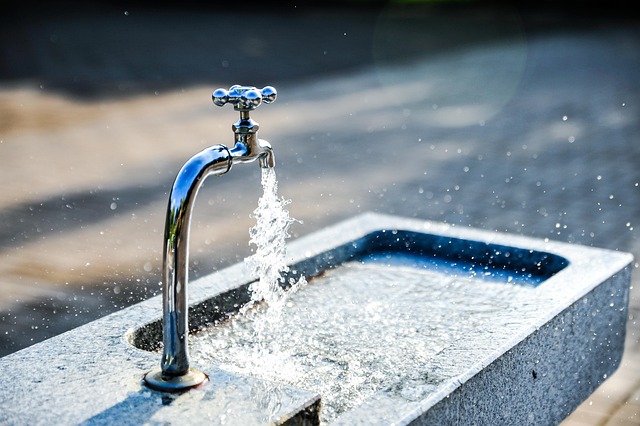
Leaky faucets can be frustrating, but identifying the source of the issue is the first step to fixing it fast. Start by checking the faucet’s handles and the base where the spout connects. Look for any visible cracks or damaged parts in these areas. Sometimes, a simple repair like replacing worn-out O-rings or cartridges can stop the leak. These parts are relatively inexpensive and easy to install, making them an excellent first-line solution for how to fix a leaky faucet.
If you don’t spot any obvious issues after inspecting the handles and base, try turning off the water supply valves located under the sink. After shutting off the valves, observe if the leak persists. If it does, the problem might be further down the line, such as a faulty supply line or a damaged washer inside the faucet mechanism. This is when you may need to call in a plumber for more complex repairs.
Gathering the Necessary Tools and Materials

Before you begin your DIY repair, make sure you have all the essential tools and materials on hand. For fixing a leaky faucet, basic tools like adjustable wrenches, pliers, and a screwdriver are often required. These will help you disassemble the faucet to identify and address the leak source. Additionally, gathering replacement parts such as O-rings, washer packets, or cartridge assemblies is crucial if the problem lies with these components. Many hardware stores carry these items, making it convenient to stock up on essentials without needing to make multiple trips. Having everything readily available will enable you to complete your How to Fix a Leaky Faucet project efficiently and effectively.
Step-by-Step Guide to Fixing the Leaky Faucet
Fixing a leaky faucet is an easy DIY project that can save you money on your water bills and prevent unnecessary wastage. Here’s a step-by-step guide to help you get the job done quickly:
1. Turn off the Water Supply: Before you begin, shut off the main water supply valves located under the sink. This prevents water from flowing as you work and makes the repair process much safer. You can usually find these valves behind a small door or panel beneath the sink.
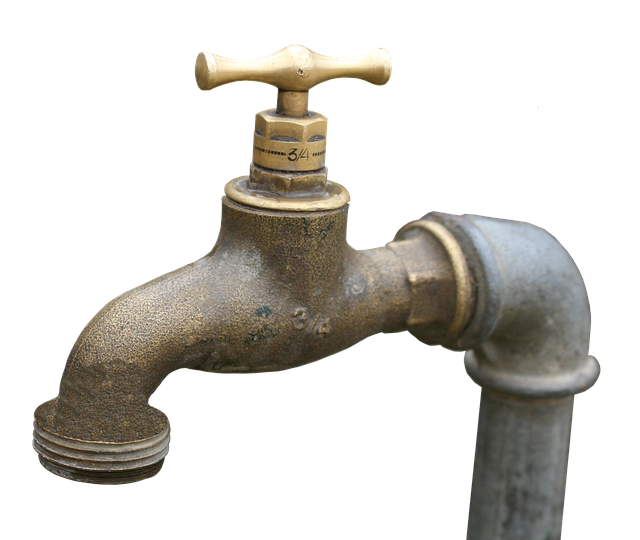
2. Identify the Leaky Part: Inspect your faucet to determine where the leak is originating. It could be the handle, the base of the faucet, or the spout. Once identified, gather the necessary tools – a wrench (for tight fittings), pliers (if needed for more stubborn parts), and replacement washers or O-rings if available.
3. Disassemble the Faucet: Remove any decorative covers or handles to access the inner components. Use your tools to carefully take apart the faucet according to its design. You’ll likely need to remove the faucet stem, washer, or O-ring.
4. Clean and Inspect: Clean any debris from the disassembled parts with a cloth or brush. Check for wear and tear, especially on washers and O-rings, which are common sources of leaks. Replace any damaged parts.
5. Tighten or Replace Parts: If you’re only dealing with a slow leak, tightening the appropriate fittings might suffice. For more severe cases, replace the faulty washer or O-ring. Ensure all parts are secure but not overly tight to avoid damage.
6. Reassemble the Faucet: Put the faucet back together in reverse order of disassembly. Make sure each part fits properly and is secured tightly. Reattach any handles and covers.
7. Test the Fix: Turn on the main water supply valves and check if the leak has been stopped. If not, double-check your work, especially the connections and replaced parts.
A leaky faucet can be an annoying household problem, but with the right tools and a few simple steps, it’s easily fixable. By identifying the source of the leak and gathering the necessary materials, you’re already halfway there. Follow our step-by-step guide to efficiently address the issue and say goodbye to those wasting drops of water. Remember, prompt action on minor leaks prevents significant damage down the line. Learn how to fix a leaky faucet today and do your part to conserve precious resources.