
Before replacing your shower head, identify its model and features. Gather essential tools like an adjustable wrench, pliers, rubber mallet, and gloves. Turn off water at the shutoff valve, remove old head counterclockwise, clean the arm and base, attach new head clockwise until snug, test before use. Use proper tools, control water flow first, and avoid over-tightening during removal.
Are you tired of your old, low-flow shower head? Learn everything you need to know about replacing it yourself or hiring a pro. This comprehensive guide walks you through understanding your current shower head and gathering the right tools. We then provide a step-by-step replacement process, along with tips and common mistakes to avoid. Discover how to increase water pressure and upgrade your shower experience with our DIY or call-a-pro approach to How to Replace a Shower Head.
- Understanding Your Shower Head and Tools Required
- Step-by-Step Guide for a Successful Replacement
- Tips and Common Mistakes to Avoid When Changing a Shower Head
Understanding Your Shower Head and Tools Required
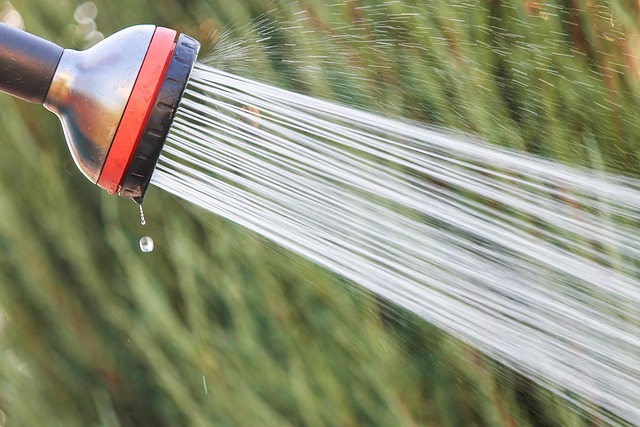
Understanding your current shower head is key before attempting any replacement. Different models and designs come with unique features, such as adjustable spray settings or built-in filters. Before you start, take a moment to familiarize yourself with its components and how they work. This knowledge will help guide your decision when choosing a new one.
When it comes to changing a shower head, the right tools are essential. You’ll typically need an adjustable wrench or pliers for unscrewing the old head, as well as a new shower head that matches your desired style and functionality. It’s also beneficial to have a rubber mallet for gentle tapping if removal becomes tricky, and protective gloves for a comfortable grip and to avoid any water-related surprises.
Step-by-Step Guide for a Successful Replacement

Changing a shower head is a relatively simple DIY project, but knowing the steps involved can make the process seamless and stress-free. First, gather all necessary tools including an adjustable wrench or pliers, your new shower head, and any additional accessories provided by the manufacturer. Turn off the water supply to your shower by locating and closing the shutoff valve beneath the sink or in your utility room. This is a crucial step to avoid any unexpected leaks during installation. Once the water is turned off, allow any residual pressure to dissipate before proceeding.
Next, remove the old shower head by unscrewing it counterclockwise using your wrench or pliers. Be mindful of any screws or brackets securing the shower head in place and take note of their placement for easy reassembly. After removing the old head, clean the shower arm and base to ensure a secure fit for the new one. Finally, attach the new shower head by screwing it clockwise onto the shower arm until it’s snug. Check that all parts are securely fastened before turning on the water supply and testing your new shower head.
Tips and Common Mistakes to Avoid When Changing a Shower Head

Changing a shower head seems like a simple task, but it’s easy to make mistakes that could lead to leaks or damage. Here are some tips and common pitfalls to keep in mind when tackling this DIY project:
First, ensure you have the right tools for the job. This usually includes adjustable pliers, a wrench, or a screwdriver, depending on your shower head design. Always turn off the water supply before beginning; mistakes in this step can lead to unexpected floods. When removing the old shower head, apply liberal amounts of force but be careful not to break any parts. A common mistake is over-tightening, which can distort the shower head or damage the threads on your shower arm. Take your time and use a towel to grip the head if it feels slippery.
When it comes to replacing your shower head, the decision to DIY or call a pro depends on your comfort level and time availability. For a straightforward process, most homeowners can successfully replace their shower heads using basic tools and our step-by-step guide. However, if you’re unsure or encounter any complications, don’t hesitate to consult a professional plumber for expert assistance. Mastering how to replace a shower head is an easy DIY project that can significantly enhance your shower experience.