A dripping faucet, an early plumbing warning sign, wastes water and raises bills. Regular checks and immediate action prevent small issues from becoming costly repairs. Gather tools like wrenches, pliers, and model-specific replacement parts. Turn off water supply, disassemble the faucet, replace worn washers or O-rings, reassemble, and test. Save money, conserve water, by learning to fix a leaky faucet.
Tired of constant water waste due to a dripping faucet? This guide is your solution. Learn how to efficiently fix a leaky faucet and stop unnecessary water wastage. Understanding the problem is the first step, followed by gathering the right tools and materials. Then, follow our simple, step-by-step guide to fixing that pesky drip, transforming your home into a water-saving oasis. Discover the ease of DIY repair with these practical tips on how to fix a leaky faucet.
- Understanding the Problem: Identifying a Dripping Faucet
- Gathering Tools and Materials for Repair
- Step-by-Step Guide to Fixing a Leaky Faucet
Understanding the Problem: Identifying a Dripping Faucet
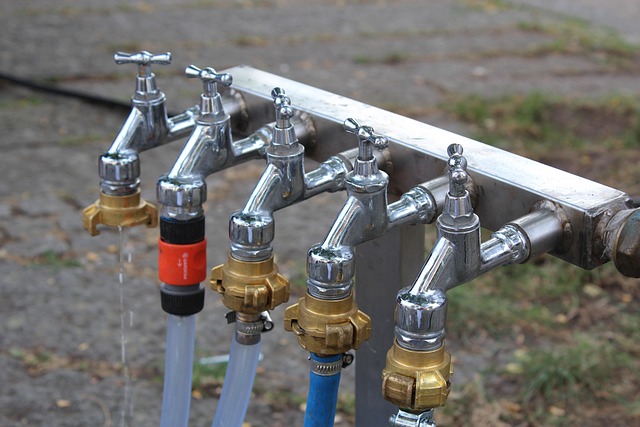
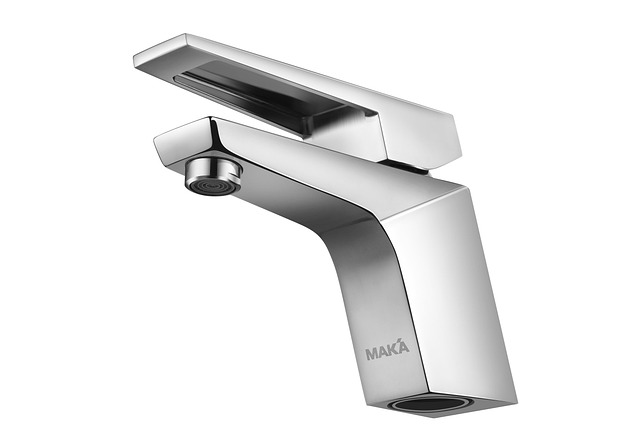
A dripping faucet is often an early sign of a larger plumbing issue, and it can lead to significant water waste over time. Understanding when your faucet is leaking is the first step in fixing the problem. A leaky faucet typically manifests as a constant, small stream of water coming from the tip of the tap, regardless of whether it’s being used or not. This persistent drip may go unnoticed at first, but the consequences can add up quickly. By addressing a dripping faucet promptly, you not only save money on your water bill but also contribute to preserving this precious resource.
Identifying the source of the leak is crucial when learning how to fix a leaky faucet. The culprit could be as simple as an worn-out washer or O-ring in the faucet’s internal mechanism. More complex issues might involve damaged or corroded pipes beneath the sink. Examining the faucet for visible signs of damage, such as rust or leaks around the base, can provide valuable clues. Regular maintenance checks and prompt action when a drip is noticed are key to preventing these seemingly small problems from escalating into more costly repairs.
Gathering Tools and Materials for Repair

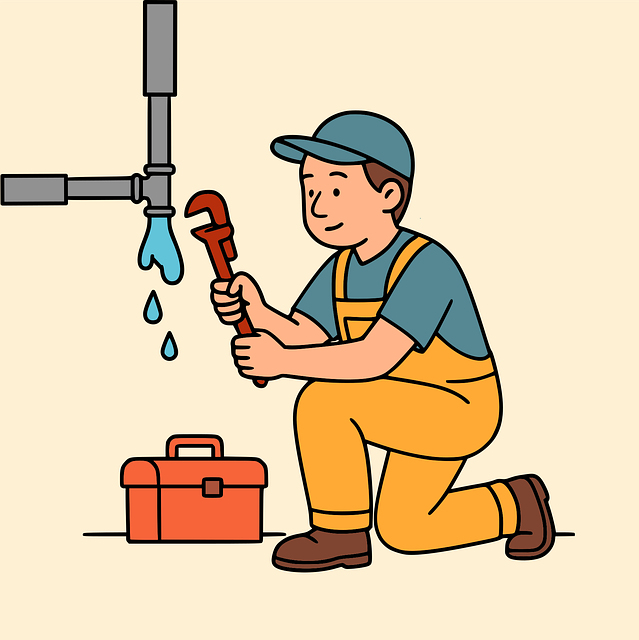
Before you begin fixing a dripping faucet, it’s crucial to gather the right tools and materials. You will need a few basic household items like wrenches (adjustable or pipe wrenches are ideal), pliers, and replacement faucet parts – specifically O-rings or washer cartridges depending on your faucet design. If you’re unsure what parts you need, consult your owner’s manual or search online for model-specific instructions on how to fix a leaky faucet. Additionally, have some rubber gloves on hand for protection against any residual water or chemicals during the repair process.
Step-by-Step Guide to Fixing a Leaky Faucet
Fixing a leaky faucet is an easy DIY project that can save you money and help conserve water. Start by gathering the necessary tools, including adjustable wrenches, pliers, and a new washer or O-ring (check your faucet’s specific parts). Turn off the water supply to your faucet under the sink using the shut-off valves. If you don’t know where they are, locate the pipes behind the faucet; there should be two valves that you can close with a wrench.
Once the water is turned off, remove the handle and any decorative caps from the faucet. You’ll see several parts: the stem, washer, O-ring, and seat. Inspect these components for damage or wear and replace any faulty parts, especially the washer or O-ring, which are common causes of leaks. Reassemble the faucet, ensuring each part is securely in place. Finally, turn on the water supply and test the faucet to make sure it’s fixed.
Dripping faucets aren’t just an annoyance; they’re also a waste of precious water. By following these simple steps to fix a leaky faucet, you can save money on your water bills and contribute to conservation efforts. Stop putting off this easy home repair and take action today to make every drop count.