A leaky faucet, often caused by a worn-out washer, indicates potential water waste and higher utility costs. Prompt action is key; early detection allows for simple repairs to prevent further damage. Gather tools like an adjustable wrench, screwdriver, new washer, and thread sealant. Turn off the water supply valves before disassembling and replacing the old washer with a new one that matches your faucet's specifications. Reassemble, test for leaks, and enjoy a fixed, efficient faucet. Learn these steps to effectively fix a leaky faucet at home using How to Fix a Leaky Faucet as a guide.
Tired of that relentless drip? Learn how to fix a leaky faucet with our easy, step-by-step guide. This article equips you with the knowledge and tools needed to tackle common issues like a worn-out washer. Understanding the problem is key: we’ll help you identify leaks and differentiate them from other faucet issues. Gather your supplies, follow our clear instructions, and watch as you successfully replace that aging washer, stopping the drip once and for all. Say goodbye to wasted water and hello to a fixed faucet!
- Understanding the Problem: Identifying a Leaky Faucet
- Gathering the Right Tools and Materials for Repair
- Step-by-Step Guide to Replacing a Worn-Out Washer and Fixing Your Leaky Faucet
Understanding the Problem: Identifying a Leaky Faucet
A leaky faucet isn’t just an annoyance; it’s a sign of a bigger problem that could lead to significant water waste and even higher utility bills. Understanding how to fix a leaky faucet begins with identifying the issue accurately. Leaks can originate from various parts of your faucet, including the handle, valve seat, or cartridge. The most common culprit is usually the washer, a small ring located beneath the handle that prevents water from escaping. Over time, these washers wear out, allowing water to drip uncontrollably.
When you notice constant dripping or a slow yet steady flow even when the faucet is turned off, it’s likely a sign of a worn-out washer. Other symptoms include persistent water spots on nearby surfaces and an increase in your water bill. Identifying these signs early can help you tackle the problem promptly, preventing further damage and ensuring your faucets function efficiently.
Gathering the Right Tools and Materials for Repair
Before starting to fix a leaky faucet, it’s crucial to gather the right tools and materials. This typically includes a new washer, adjustable wrench or pliers, screwdriver (flathead or Phillips), and possibly silicone grease or thread sealant. It’s important to note that the exact tools required may vary depending on your faucet’s design, so do check the manufacturer’s instructions for specific guidance.
The new washer should be compatible with your faucet model. If you’re unsure, consult a hardware store clerk or the faucet’s manufacturer. Once you have everything you need, turn off the water supply valves beneath the sink to prevent any leaks during the repair process, making it easier to How to Fix a Leaky Faucet effectively and efficiently.
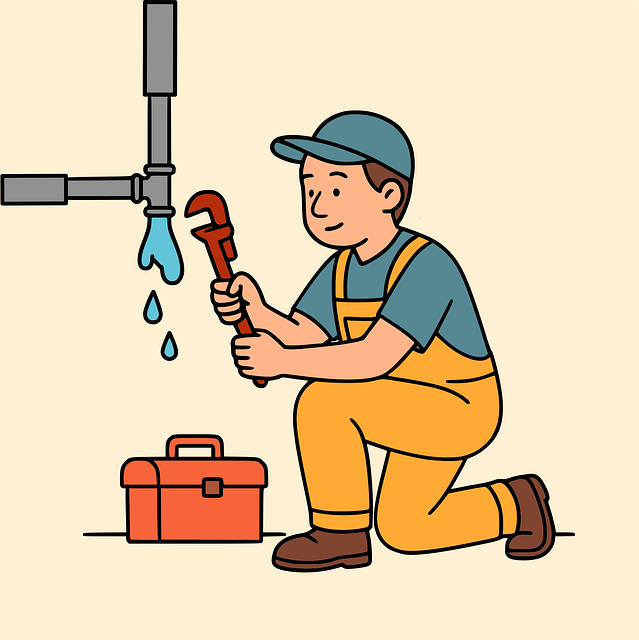
Step-by-Step Guide to Replacing a Worn-Out Washer and Fixing Your Leaky Faucet
Replacing a worn-out washer is a straightforward process that can save you time and money, especially when it comes to fixing a leaky faucet. Here’s a step-by-step guide to help you get the job done efficiently:
1. Turn off the water supply: Before starting any repair work, shut off the main water valve beneath the sink to prevent leaks during the process. This is crucial in how to fix a leaky faucet effectively.
2. Remove the old washer and faucet parts: With the water turned off, unscrew and remove the faulty washer from the faucet. Take note of its position relative to other components for easier reassembly. Disassemble any surrounding parts that need replacement, such as O-rings or seals, using a suitable tool like a wrench or pliers.
3. Install the new washer: Obtain a replacement washer that matches your faucet’s size and type. Position it correctly, ensuring it fits snugly in place without being too tight. Secure it with a new set of screws or by reattaching the faucet handle, depending on your model.
4. Test for leaks: Turn on the water supply and check if the leak has been successfully fixed. If there are still drips, double-check that all parts are properly seated and tightened.
Replacing a worn-out washer is an effective and straightforward solution to fixing a leaky faucet. By understanding the problem, gathering the right tools, and following a simple step-by-step guide, you can easily tackle this common household repair. With these tips in hand, you’re well-equipped to stop that annoying drip and save money on your water bills. Remember, when it comes to fixing a leaky faucet, knowledge is power!