
A leaky faucet, often caused by a worn-out washer, wastes water and increases bills. To fix it, first identify signs like dripping or rising water meter readings. Remove the handle, locate the damaged washer, and replace it with a new one for proper sealing. Gather tools and materials including new washers, pliers, rag, and thread sealer. Turn off water supply, unscrew old washer, inspect stem, clean area, install new washer, align correctly, and tighten securely. Test faucet; if leaks persist, recheck connections or consult a professional. Learn how to fix a leaky faucet effectively with this DIY guide.
Tired of that persistent drip, drip, drip? You’re not alone. A leaky faucet can be both annoying and wasteful. Fortunately, fixing it is easier than you think. This guide will walk you through the process of replacing a worn-out washer, the key to stopping that pesky leak. We’ll break down the problem, equip you with the right tools, and provide a simple, step-by-step approach so you can get that faucet fixed once and for all.
- Understanding the Problem: Identifying a Leaky Faucet
- Gathering the Necessary Tools and Materials
- Step-by-Step Guide to Replacing a Worn-Out Washer
Understanding the Problem: Identifying a Leaky Faucet
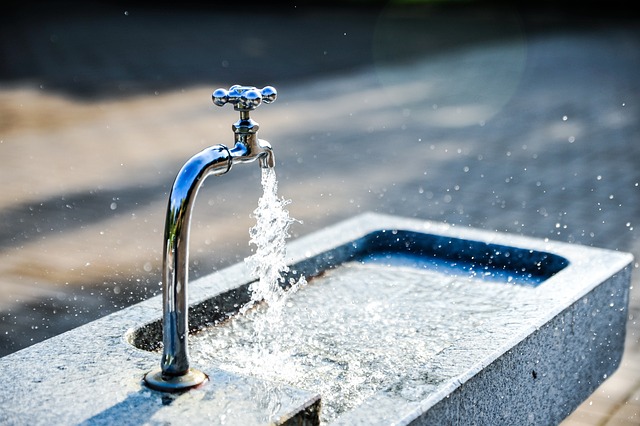
A leaky faucet is often a common household issue that, if left unattended, can lead to unnecessary water wastage and increased water bills. Understanding the problem starts with identifying the signs of a leak. This could be as simple as hearing dripping sounds coming from your sink or noticing a steady increase in your water meter readings despite not using any water. In many cases, the leak originates from the washer, a small component located beneath the faucet handle. Over time, these washers can wear out, become damaged, or simply deteriorate due to mineral buildup, resulting in leaks.
To effectively fix a leaky faucet, pinpointing the exact location of the problem is crucial. For a leaky washer, this process involves removing the faucet handle and examining the parts beneath. By identifying the worn-out washer, you can then proceed with the replacement process, which typically involves unscrewing the old washer, installing a new one, and ensuring proper sealing to prevent future leaks. This DIY approach not only saves costs but also empowers homeowners with essential maintenance skills.
Gathering the Necessary Tools and Materials
Before tackling any DIY project, ensuring you have the right tools and materials is crucial for successfully fixing a leaky faucet. Start by gathering a few essential items like new washer(s), pliers or a wrench (depending on your faucet’s design), a rag, and perhaps some thread sealer or pipe compound to provide an extra seal. It’s always a good idea to check if you have the required tools; having them readily available will save time and effort during the repair process.
When selecting new washers, choose those specifically designed for your faucet’s make and model. Different faucets may require unique washer sizes or types, so measure or consult your owner’s manual if needed. Properly sized and compatible parts are key to effectively stopping that leaky tap.
Step-by-Step Guide to Replacing a Worn-Out Washer
Replacing a worn-out washer is a straightforward process that can effectively fix a leaky faucet. Here’s a step-by-step guide to help you get the job done quickly and efficiently. Begin by turning off the water supply to your faucet using the valve located under the sink. This crucial step prevents any accidental flooding during the repair. Next, remove the old washer by unscrewing it from the faucet stem using a wrench or pliers. Take note of how it fits and the direction it faces for reference when installing the new one. Once removed, inspect the stem for any damage or debris that might be causing the leak. Clean the area thoroughly before proceeding. Place a new washer onto the stem, ensuring it aligns with the existing markings or orientation. Secure it in place with the appropriate size screw or nut, tightening it gently but firmly. Finally, turn on the water supply and test the faucet to confirm that the leak has been successfully stopped. If there are any persistent issues, double-check your connections and consider seeking professional assistance for a thorough inspection.
Fixing a leaky faucet is an easy DIY project that can save you money and reduce water waste. By understanding the problem, gathering the right tools, and following a simple step-by-step guide, you can replace a worn-out washer and stop that persistent drip. Remember, knowing how to fix basic plumbing issues empowers you to take control of your home’s maintenance and could prevent costly repairs down the line.