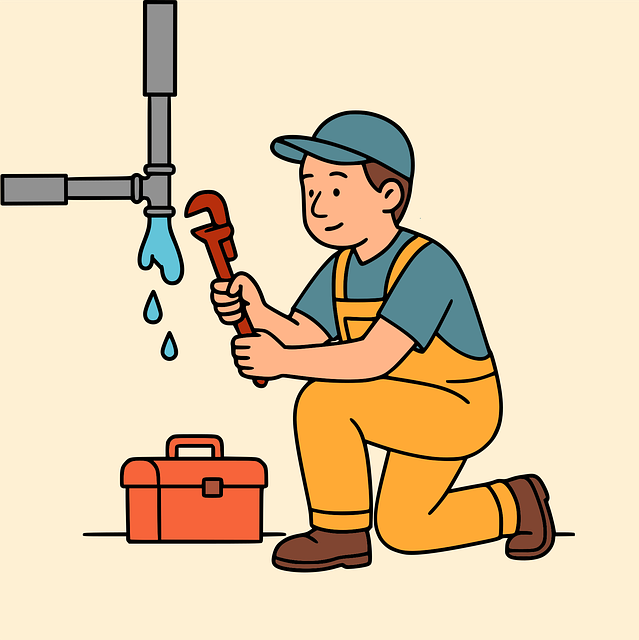
A leaky faucet, caused by worn parts like washers or O-rings, wastes water and damages homes. Early detection is key; small drops add up. This guide teaches you how to fix a leaky faucet using common tools and replacement parts. Turn off the water supply, gather essential tools, identify the leak source, disassemble the faucet, replace worn parts, reassemble, test connections, and conserve water effectively.
Tired of wasteful water usage due to that persistent dripping faucet? Learn how to fix it yourself with this easy, step-by-step guide. Understanding the problem is the first step; identifying a leaky faucet can often be as simple as noticing excessive water puddles or higher than normal water bills. Gathering the right tools and materials is key before diving in. Stop wasting water and save money by mastering the art of fixing a dripping faucet today!
- Understanding the Problem: Identifying a Leaky Faucet
- Gathering Tools and Materials for Repair
- Step-by-Step Guide to Fixing a Dripping Faucet
Understanding the Problem: Identifying a Leaky Faucet
A leaky faucet is often one of the most ignored yet significant water wasters in any household. Understanding how to fix a leaky faucet is not only an effective way to reduce your water bill but also contributes to conserving this precious resource. The problem typically arises from worn-out or damaged parts, such as the washer, O-ring, or cartridge, which can lead to constant dripping, even when the faucet is turned off. Identifying a leaky faucet early on is crucial; small drops may seem insignificant, but over time, they add up to substantial amounts of water wasted.
When you notice that your faucet is dribbling water after each use or there’s continuous dripping even when it’s closed, it’s time to take action. This simple issue can be easily resolved by following a few straightforward steps. How to fix a leaky faucet involves assessing the type of faucet you have and gathering the necessary tools before beginning the repair process. With some basic knowledge and a bit of patience, you can stop wasting water and save money in the long run.
Gathering Tools and Materials for Repair
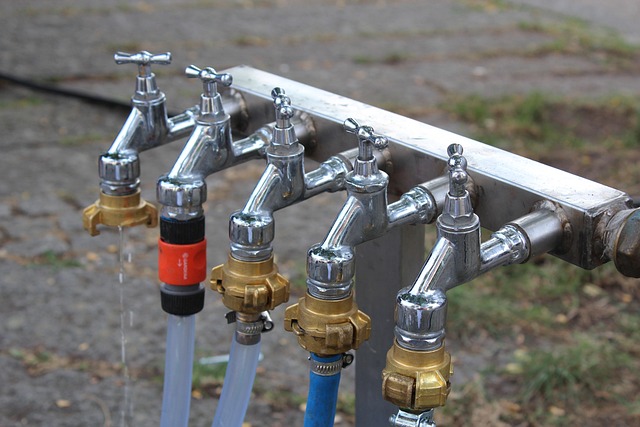
Before you begin repairing your dripping faucet, it’s essential to gather the right tools and materials. This typically includes an adjustable wrench, pliers, a screwdriver (both flathead and Phillips), new faucet O-rings or seals, pipe tape, and replacement parts specific to your faucet model if needed. Having these at hand will ensure you can efficiently address the issue without interruption.
When selecting your supplies, remember that even tiny leaks can waste significant amounts of water over time. By taking proactive steps like learning how to fix a leaky faucet, you not only save money on your water bills but also contribute to conserving this precious resource.
Step-by-Step Guide to Fixing a Dripping Faucet
Fixing a dripping faucet is an easy DIY project that can save water and prevent unnecessary damage to your home. Here’s a step-by-step guide on how to fix a leaky faucet:
1. Turn off the Water Supply: Before you begin, close the valves under the sink to cut off the water supply. This will make the repair process mess-free and ensure no unexpected leaks happen during work.
2. Gather Necessary Tools: You’ll need some basic tools like a wrench or pliers for unscrewing parts, as well as replacement faucet O-rings or washers if needed. Have some old rags handy to catch any residual water that might escape.
3. Identify the Problem Part: Look at your faucet to determine where the leak is occurring. It could be at the base of the faucet handle, where the spout meets the counter, or around the O-ring or washer.
4. Disassemble the Faucet: Remove any decorative covers or caps from the faucet. Use your wrench or pliers to unscrew the offending part, whether it’s a damaged O-ring, worn-out washer, or loose component.
5. Replace the Faulty Part: Once you have removed the faulty piece, inspect it for signs of wear and tear. If it’s an O-ring or washer, replace it with a new one of the correct size. Ensure all parts are properly seated before reassembling.
6. Reassemble and Test: Put back together the disassembled parts, tightening them gently but firmly. Turn on the water supply valves and check if the leak has been fixed. If not, double-check your connections and try again.
Dripping faucets aren’t just an annoyance; they’re also a waste of precious water. Learning how to fix a leaky faucet is an easy, cost-effective way to reduce your water footprint and save money on your utility bills. By following the step-by-step guide in this article and keeping an eye out for potential leaks, you can become more environmentally conscious and contribute to a sustainable future – one fixed faucet at a time.