
DIY pipe insulation cuts energy bills and improves home comfort by wrapping pipes with insulating material to prevent heat loss/gain. Gather foam, scissors, heat source, and identify susceptible pipes. Start with quality materials for a snug fit around each pipe in hard-to-reach areas first. Maintain insulation regularly and use pre-cut kits for savings.
Looking to slash your heating bills and avoid frozen pipes? DIY pipe insulation is a simple, cost-effective solution. This guide breaks down the benefits of insulating your pipes, from preventing temperature loss to extending plumbing life. We’ll walk you through a step-by-step process, offer expert tips, and share tricks for long-lasting results. Discover how DIY pipe insulation can save you money and keep your home comfortable all year round.
- Understanding DIY Pipe Insulation: Benefits and Essentials
- The Step-by-Step Guide to Effective Pipe Insulation
- Tips and Tricks for Long-Lasting Results and Cost Savings
Understanding DIY Pipe Insulation: Benefits and Essentials
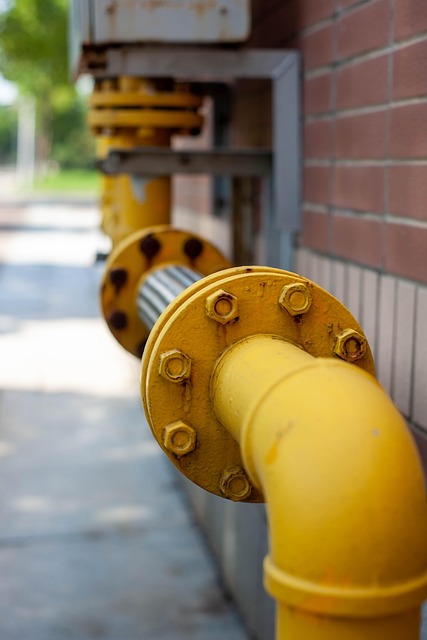
DIY pipe insulation is a cost-effective solution for homeowners looking to reduce energy bills and improve their home’s efficiency. By wrapping pipes with insulating material, you can prevent heat loss during cold weather and heat gain in hot climates, ensuring water remains at the desired temperature as it flows through your plumbing system. This simple yet effective method offers significant benefits, including reduced heating and cooling costs, lower water heating bills, and improved comfort levels throughout your home.
To implement DIY pipe insulation correctly, you’ll need a few essential tools and materials: foam pipe insulation (available in various sizes), utility scissors or a knife, and a heat source like a hairdryer. Start by cutting the insulation to fit around each pipe, leaving a small overlap for sealing. Then, carefully wrap the insulation around the pipes, ensuring it’s snug but not too tight. Finally, use your heat source to soften any remaining foam and seal gaps, creating an airtight barrier that maximizes energy efficiency.
The Step-by-Step Guide to Effective Pipe Insulation
Insulating your pipes is a straightforward and cost-effective way to keep your home efficient and comfortable, especially during extreme weather conditions. Here’s a step-by-step guide for effective DIY pipe insulation:
1. Identify Pipes Needing Insulation: Start by locating the pipes in your home that are most exposed to temperature fluctuations. These are typically pipes running along exterior walls or in uninsulated attics or basements. Check for any signs of corrosion or damage, which could indicate areas requiring extra attention.
2. Gather Materials: You’ll need insulation rolls or foam specific for pipes, a utility knife, tape (to secure the insulation), and possibly thermal adhesive (for more permanent sealing). Choose materials suited to your climate and pipe size. Insulation rolls come in various widths and thicknesses, so select one that fits your needs.
Tips and Tricks for Long-Lasting Results and Cost Savings

To achieve long-lasting results with DIY pipe insulation, start by choosing the right materials – look for insulation specifically designed for pipes, typically made from fiberglass or foam. Ensure a tight fit around each pipe to prevent heat loss and moisture gain; use duct tape or specialized sealing compounds to secure insulation in place. Regular maintenance is key: inspect your insulation periodically, replacing any damaged sections promptly.
Consider the overall layout of your plumbing system; insulate pipes in hard-to-reach areas first, as these often go unnoticed but can lead to significant heat loss. For a DIY approach, opt for pre-cut pipe insulation kits, which save time and money compared to cutting and fitting individual lengths. Lastly, remember to insulate pipes in attics or exterior walls – areas particularly vulnerable to temperature fluctuations – for maximum cost savings on your energy bills.
DIY pipe insulation isn’t just an efficient way to regulate your home’s temperature, but it also offers significant cost savings in the long run. By insulating pipes, you prevent energy loss, reduce heating and cooling bills, and minimize the risk of pipes freezing or bursting. The simple yet effective process outlined in this article equips homeowners with the tools and knowledge to tackle this project themselves, ensuring a cozy and wallet-friendly home environment for years to come.