
DIY pipe insulation is a crucial, cost-saving measure for homeowners in colder regions, preventing pipes from freezing, reducing heat loss, and enhancing water heating efficiency. By using specialized materials like foam or fiberglass, measuring and cutting them to fit, and securing them with tape, you create an insulating layer around pipes, ultimately protecting your plumbing system and saving energy costs.
Protecting your pipes from extreme temperatures is crucial for maintaining a comfortable home. Freezing or heat loss can cause pipes to burst or damage, leading to costly repairs. This guide provides a comprehensive overview of DIY pipe insulation, equipping you with the knowledge and steps to wrap your pipes effectively. From understanding the importance of insulation to selecting the right materials and tools, learn how to safeguard your plumbing system this winter (or summer).
- Understanding Pipe Insulation: Why It's Essential
- Materials and Tools Needed for DIY Pipe Insulation
- Step-by-Step Guide to Effectively Wrap Pipes for Optimal Protection
Understanding Pipe Insulation: Why It's Essential
Understanding Pipe Insulation: Why It’s Essential
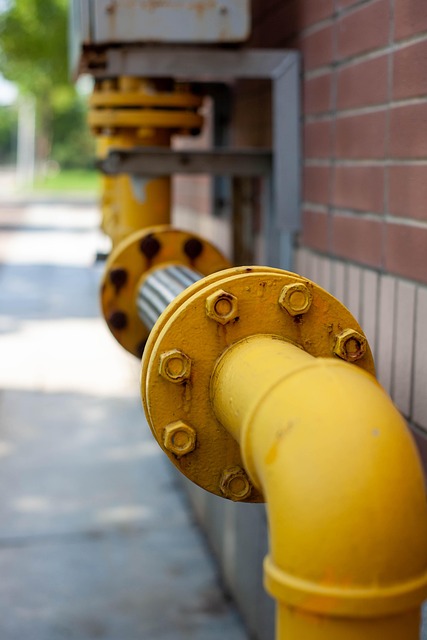
Pipe insulation is a crucial component in any DIY project, especially when dealing with plumbing. In cold climates or during winter months, pipes are vulnerable to freezing and subsequent bursting due to thermal shock. Heat loss from exposed pipes can also lead to inefficient water heating systems, resulting in higher energy bills. DIY pipe insulation involves wrapping pipes with specialized materials designed to retain heat and protect against extreme temperatures.
By implementing proper pipe insulation, you create a protective barrier that minimizes temperature fluctuations inside the pipes. This is particularly important for pipes located in uninsulated spaces like attics, basements, or exterior walls. Quality pipe insulation not only prevents freezing but also helps maintain the desired water temperature, ensuring optimal performance and longevity of your plumbing system.
Materials and Tools Needed for DIY Pipe Insulation

To tackle DIY pipe insulation, gather specific materials and tools designed for the job. Start with high-quality pipe insulation in various sizes to accommodate different pipes in your home. Look for options made from foam or fiberglass, known for their excellent thermal resistance and flexibility. These materials are essential for wrapping pipes effectively and providing maximum protection against freezing temperatures.
Complementing these will be a set of scissors or a utility knife for cutting the insulation to size, as well as duct tape or pipe insulation adhesive to secure the sleeves. A thermometer can also be useful for monitoring temperature changes within the insulated pipes. With these tools and materials in hand, you’re ready to enhance your DIY skills and ensure efficient energy conservation through effective pipe insulation.
Step-by-Step Guide to Effectively Wrap Pipes for Optimal Protection

Wrapping pipes for protection against freezing and heat loss is a simple DIY task that can significantly prevent damage to your plumbing system. Here’s a step-by-step guide to ensure effective pipe insulation.
1. Measure and Cut Insulation Material: Start by measuring the length of pipes you need to insulate. Purchase pipe insulation in the appropriate size, typically made from fiberglass or foam. Cut the insulation material to fit around each pipe using scissors or a utility knife, leaving about 2-3 inches extra on each side.
2. Apply Pipe Insulation: Remove any existing tape or protection from the pipes. Position the insulation around the pipe, starting at one end and working your way along its length. Ensure there are no gaps between the pipe and the insulation. Use a utility knife to trim excess material close to the pipe for a neat finish.
3. Secure Insulation: Once the insulation is in place, secure it with painter’s tape or specialized pipe insulation tape. Wrap the tape around the insulation, overlapping it slightly at each joint to create a continuous seal and prevent heat loss.
Wrapping pipes with insulation is a straightforward DIY project that offers significant benefits. By following these steps and utilizing common materials, you can effectively protect your pipes from freezing temperatures and heat loss, ensuring reliable plumbing systems year-round. Remember, proper pipe insulation is a cost-effective solution to prevent costly damages and maintain efficient heating or cooling systems in your home or building. DIY Pipe Insulation is an accessible skill that every homeowner should consider mastering for optimal energy efficiency.