
To fix a leaky faucet, start by observing its type (drip or hiss) and gathering tools (wrenches, pliers, replacement parts). Turn off water supply valves. Disassemble the faucet following owner's manual instructions or online guides. Address specific issues like seal/washer problems or aerator/pipe concerns.
“Struggling with a leaky faucet? DIY enthusiasts might be tempted to tackle this common issue head-on, but understanding when to call in a professional is key. This comprehensive guide navigates you through the process of fixing a leaky faucet, from identifying the type of leak and gathering essential tools to disassembling, repairing, and reassembling it yourself. By following these simple steps, you can save money, prevent further damage, and maintain your home’s plumbing effectively.”
- Assess the Leak and Gather Tools
- – Recognize the type of leak
- – Prepare necessary tools and materials
Assess the Leak and Gather Tools
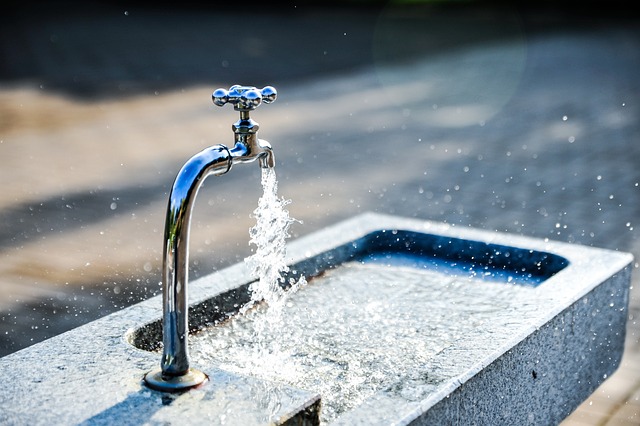
When faced with a leaky faucet, the first step is to carefully assess the situation. Observe the leak’s source and pattern; is it a steady drip or an intermittent spray? This knowledge will guide your next steps. You might just need to replace a washer for a simple, DIY fix, or it could indicate a more complex issue requiring professional attention.
Before diving into the repair, gather the necessary tools. For most leaky faucet fixes, you’ll need standard plumbing tools like adjustable wrenches, pliers, and replacement parts specific to your faucet’s type (e.g., washer, O-ring, or cartridge). Having these at hand ensures a swift and efficient solution, whether you choose to DIY or understand when to call a plumber.
– Recognize the type of leak

When faced with a leaky faucet, the first step in learning how to fix it is recognizing the type of leak. Is it a slow drip from the spout or a hissing sound coming from under the sink? Different leaks require different approaches. A slow drip often indicates a seal or washer issue, while a hissing noise could signal a faulty aerator or a more serious problem with the pipes beneath your sink.
Identifying the source will help you understand whether this is a DIY project you can tackle yourself or if it’s time to call in a professional plumber. Many minor leaks can be easily fixed by replacing worn-out parts, but for more complex issues, professional expertise may be needed to prevent further damage and ensure proper repairs are made.
– Prepare necessary tools and materials

Before tackling any DIY project, ensuring you have the right tools is essential for successfully fixing a leaky faucet. Gather items like wrenches (adjustable or pipe), pliers, teflon tape, and replacement parts specific to your faucet model (handle, cartridge, or valve seats). These tools will enable you to disassemble, repair, or replace faulty components effectively.
Proper preparation begins with turning off the water supply valves beneath the sink. This step is crucial to prevent any flooding during the repair process. Once shut off, you can begin disassembling the faucet, starting with loosening the handle and removing any decorative covers. Each faucet model may require unique techniques, so refer to your owner’s manual or online resources for detailed instructions on How to Fix a Leaky Faucet.
Whether you opt to tackle a leaky faucet yourself or call in a professional plumber, understanding the problem is key. By assessing the leak type and gathering the right tools, you’re already well on your way to fixing the issue. Remember, while DIY repairs can save costs, some faucets may require specialized parts, making a plumber’s expertise invaluable. So, choose wisely based on your comfort level and faucet complexity, ensuring your leaky faucet becomes a thing of the past promptly.