
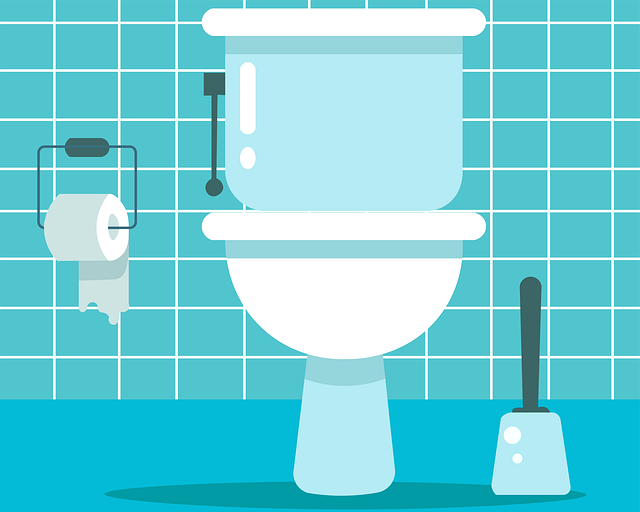
Homeowners often struggle with running toilets, leading to high utility costs. To fix this common issue, start by observing toilet behavior to identify faulty components like a leaky flapper valve or an improperly adjusted float. Diagnosing the root cause is key to stopping water waste and saving on bills. This guide provides step-by-step instructions on replacing parts, ensuring proper sealing, and adjusting mechanisms to effectively resolve a running toilet problem.
Is your toilet constantly running, wasting precious water and driving you crazy? Understanding why this happens is the first step to fixing it. This article will guide you through the process of identifying a running toilet and diagnosing its root cause. We’ll then provide a step-by-step approach to repairing the issue efficiently. By following these tips on how to stop a running toilet, you can save money, conserve water, and restore peace in your bathroom.
- Understanding the Problem: Identifying a Running Toilet
- Diagnosing the Root Cause
- Step-by-Step Guide to Fixing a Running Toilet
Understanding the Problem: Identifying a Running Toilet

Many homeowners often wonder, “Why won’t my toilet stop running?” The issue typically arises from an improperly functioning flush valve or a leaky flapper. A running toilet is easily identifiable—you’ll notice continuous water flowing into the bowl, even when the flush handle isn’t moved. This constant flow wastes water and can significantly increase your utility bills.
If you’re asking yourself, “How to stop a running toilet?”, the first step is to observe the toilet’s behavior. Check if water persists after each flush or if it runs at irregular intervals. These observations will help pinpoint the problem, whether it’s a faulty flapper that needs replacing or a valve that requires adjustment.
Diagnosing the Root Cause
Many homeowners often find themselves in the middle of a frustrating situation—a toilet that won’t stop running, constantly flushing and wasting water. Diagnosing the root cause is the first step to fixing this issue. One common culprit is a leaky flapper valve, which allows water to continuously flow into the bowl. Over time, these components wear out due to constant use and exposure to moisture, leading to leaks.
Another possible reason could be an improperly adjusted float or a damaged fill valve. The float controls the water level in the tank, and if it’s not set correctly, it can cause the toilet to keep filling after each flush. Checking these parts is crucial when trying to determine how to stop a running toilet. Inspecting for any visible damage or wear and ensuring they are functioning correctly will significantly contribute to resolving the problem effectively.
Step-by-Step Guide to Fixing a Running Toilet
If your toilet is constantly running, don’t panic! It’s a common issue that can be easily fixed with some simple troubleshooting. Here’s a step-by-step guide to help you stop the constant flow:
1. Locate the Problem: Start by identifying where the water is leaking from. Check the tank and look for any visible cracks or faulty parts. The most common culprits are the flapper valve, fill valve, or ballcock.
2. Replace Faulty Parts: If you find a damaged component, replacing it is often the solution. Gather the necessary tools and parts, then turn off the water supply to your toilet. Remove the old part, clean the area, install the new one, and restore water flow. For a flapper valve, for instance, ensure it fits properly and seals tightly against the tank.
If your toilet won’t stop running, it’s time to take action. By understanding the problem and diagnosing its root cause, you’re well on your way to fixing it. Follow our step-by-step guide for effective solutions that will teach you how to stop a running toilet once and for all. With these simple adjustments, you’ll save water, lower your utility bills, and prevent further damage.