
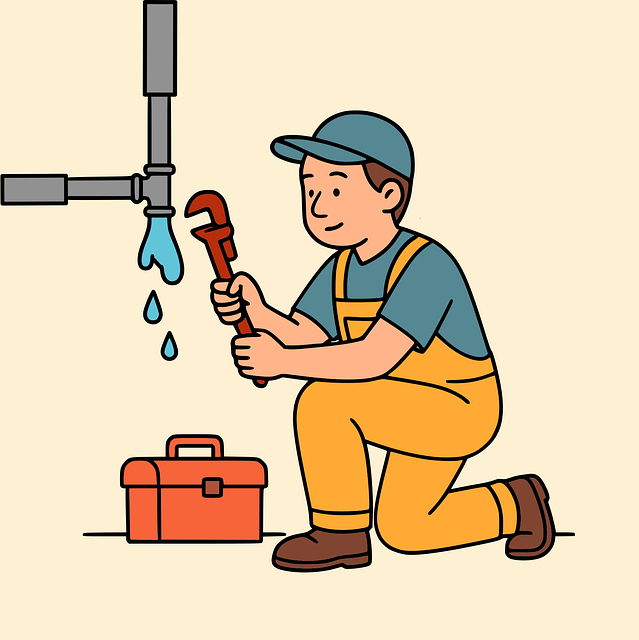
A leaky faucet can be easily fixed by identifying the source, gathering essential tools and materials (adjustable wrench, teflon tape, new washers/O-rings), and learning simple DIY techniques. Turn off water supply, disassemble faucet, replace worn parts or O-rings, reassemble, test, and save money on repairs while minimizing water waste.
Tired of that pesky leaky faucet? This ultimate guide will teach you how to fix it yourself, no plumber needed! Understanding your leaky faucet is the first step; identify common types and sources to determine the best approach. Gather the right tools and materials—you’ll be surprised at what you can achieve with just a few essentials. Then, follow our simple, step-by-step guide for a successful repair, saving you time and money while keeping your home in top shape. Learn how to fix that leaky faucet today!
- Understanding Your Leaky Faucet: Identifying the Source and Common Types
- Gathering Tools and Materials: What You'll Need to Stop that Leak
- Step-by-Step Guide: Repairing Your Faucet from Start to Finish
Understanding Your Leaky Faucet: Identifying the Source and Common Types
A leaky faucet can be a common household issue, but understanding its source is the first step in knowing how to fix a leaky faucet effectively. The problem could stem from a worn-out washer or O-ring, which are relatively simple and inexpensive replacements. These parts control the water flow and prevent leaks at the base of the faucet. Over time, they can degrade and need to be tightened or replaced.
Faucet leaks can also originate from the valve seat, where the stem meets the faucet body. This type of leak often requires more intricate troubleshooting as it involves adjusting or replacing the cartridge or valve assembly. Identifying the specific location of the leak is crucial in determining the best course of action for how to fix a leaky faucet, whether it’s a quick washroom repair or a more involved kitchen upgrade.
Gathering Tools and Materials: What You'll Need to Stop that Leak

Before tackling any DIY project, having the right tools and materials is essential for success—and fixing a leaky faucet is no exception. To get started, gather these basic items: an adjustable wrench or pliers, teflon tape, a new faucet washer (or O-ring), and a container to catch any excess water. These supplies will enable you to disassemble the faulty parts, replace worn-out components, and seal leaks effectively.
Additionally, prepare a dry towel for slip-resistant handling of wet surfaces and safety goggles to protect your eyes from any splashes. With these tools at the ready, you’ll be well on your way to stopping that pesky leak and mastering the art of how to fix a leaky faucet yourself!
Step-by-Step Guide: Repairing Your Faucet from Start to Finish

Fixing a leaky faucet is an easy DIY project that can save you money and prevent unnecessary water waste. Here’s a step-by-step guide to repairing your faucet from start to finish, without needing a plumber. First, gather the necessary tools: a wrench or pliers for unscrewing parts, replacement O-rings or washers (common culprits for leaks), and possibly some pipe tape or sealant to ensure a secure fit. Turn off the water supply to your faucet. This is typically done by locating and closing the shut-off valves under the sink. Once the water is turned off, you can begin disassembling the faucet. Usually, this involves unscrewing the handle and removing the decorative cap to access the cartridge or valve assembly. Carefully inspect these parts for damage or worn-out O-rings/washers. Replace them as needed, ensuring proper alignment. Reassemble the faucet in reverse order, tightening the parts gently but securely. Double-check that all connections are tight, especially at the shut-off valves. Turn on the water supply and test the faucet to ensure it’s no longer leaking.
Fixing a leaky faucet is an easy DIY project that can save you money and reduce water waste. By understanding your faucet’s design, gathering the right tools, and following simple steps, you can stop that annoying leak in no time. With this ultimate guide, you’re now equipped to tackle any leaky faucet—no plumber needed!