
A leaky faucet may seem minor but could indicate worn washer parts beneath the handle or spout. Replacing these washers is an easy, cost-effective solution that prevents further damage and water waste. Prepare with an adjustable wrench, pliers, a compatible washer, and pipe tape. Follow a simple step-by-step guide: turn off water valves, remove old washer, insert new one, reassemble, and test.
“Tired of that persistent drip, drip, drip? Learn how to fix a leaky faucet with our comprehensive guide. Understanding the problem starts with identifying worn-out washers, the key culprit behind most leaks. Armed with the right tools and materials, you can effectively replace these components yourself. Discover the step-by-step process to stop that annoying leak once and for all. Conquer your plumbing woes and save money by mastering this essential DIY skill – no professional needed!”
- Understanding the Problem: Identifying a Leaky Faucet
- Gather Tools and Materials for Repair
- Step-by-Step Guide to Replacing Worn-Out Washers Effectively
Understanding the Problem: Identifying a Leaky Faucet
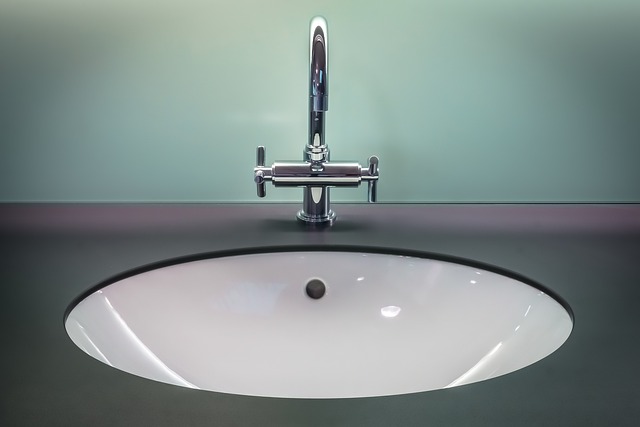
Many homeowners overlook a leaky faucet as a minor inconvenience, but it could be a sign of a bigger problem. Understanding how to fix a leaky faucet is an essential skill for any DIY enthusiast. The first step in fixing this issue is identifying the problem. A leaking faucet typically indicates worn-out or damaged washer parts. Washers are small circular discs located beneath the faucet handle and at the base of the spout, responsible for sealing off water flow. Over time, these washers can become damaged or degenerated, leading to leaks.
If you notice water dripping from under your faucet handle or a steady stream seeping from the spout, it’s likely a washer replacement is in order. This simple fix can prevent further damage and unnecessary water wastage. By promptly addressing this issue, you’ll not only save money on potential repair costs but also contribute to environmental conservation.
Gather Tools and Materials for Repair
Before starting your repair, make sure to gather all the necessary tools and materials. For fixing a leaky faucet, you’ll typically need an adjustable wrench, pliers, a new washer (ensure it’s compatible with your faucet), and possibly some pipe tape or thread sealant. These essentials will enable you to disassemble the faucet and replace the worn-out washer effectively.
When selecting the new washer, consider its size and material. Washers come in various types, including plastic and metal, each suited for different applications. Choosing the right one is crucial in ensuring your repair’s longevity and preventing further leaks.
Step-by-Step Guide to Replacing Worn-Out Washers Effectively

Replacing a worn-out washer is a straightforward process that can effectively stop a leaky faucet. Here’s a step-by-step guide to ensure the job gets done right. First, turn off the water supply valves located under the sink. This crucial step prevents any accidental flooding while you work. Next, remove the existing washer by unscrewing it from the faucet stem using a wrench or pliers. Take note of the size and type of washer you’re removing for future reference. Once the old washer is out, insert a new one of the same specifications. Ensure it fits snugly but isn’t too tight to avoid damage. Finally, reattach the faucet handle and turn on the water supply valves to test the repair. If the leak has ceased, your washer replacement was successful in fixing that leaky faucet.
Fixing a leaky faucet is not as daunting as it seems. By understanding the problem, gathering the right tools and materials, and following a simple step-by-step guide, you can replace worn-out washers and effectively stop that persistent drip. With just a few adjustments, you’ll have a watertight fixture and save money on your water bills – a true game changer for any homeowner. Now, it’s time to roll up your sleeves and tackle that leaky faucet head-on!