A leaky faucet, caused by worn parts or loose connections, can be easily fixed (DIY) using common tools and supplies. Before starting, shut off the water supply, gather essential tools like wrenches and pliers, and consider a repair kit. Disassemble the faucet, replace damaged washers or O-rings, reassemble, test for leaks, and repeat if needed. Learn the process with our step-by-step guide on How to Fix a Leaky Faucet.
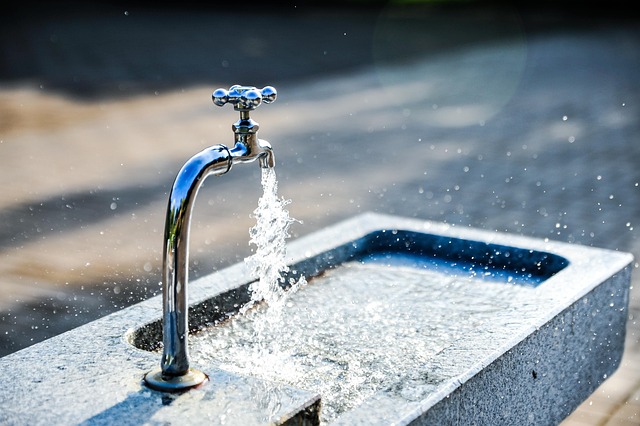
Tired of that persistent dripping sound? A leaky faucet isn’t just annoying; it can also waste significant amounts of water and increase your bills. Fortunately, fixing it doesn’t have to be complicated or costly. In this article, we’ll guide you through the process of identifying and rectifying leaky faucet troubles using simple tools and techniques. By the end, you’ll be armed with the knowledge to stop that drip for good and save both time and money. Let’s dive into our step-by-step guide on how to fix a leaky faucet.
- Understanding Leaky Faucet Causes
- Gathering Supplies for Repair
- Step-by-Step Guide to Fixing a Leaky Faucet
Understanding Leaky Faucet Causes
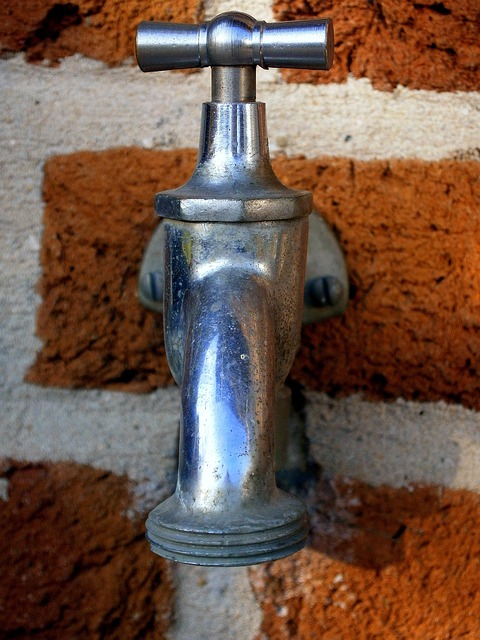
A leaky faucet can be a common household issue, but understanding its causes is the first step in knowing how to fix a leaky faucet. Typically, leaks occur due to worn-out or damaged washermen and O-rings inside the faucet. Over time, these components can deteriorate from mineral buildup, corrosion, or general wear and tear, leading to water leakage. Another common cause is loose connections between the faucet’s parts, which may result from improper installation or frequent use. Identifying the specific cause will help in selecting the appropriate solution, whether it’s replacing worn-out parts or tightening loose connections.
By addressing these issues promptly, homeowners can save money on water bills and prevent further damage caused by continuous water exposure. Knowing how to fix a leaky faucet is an essential skill that every homeowner should possess, as it’s a relatively simple DIY project that doesn’t require professional help for basic repairs.
Gathering Supplies for Repair

Before you begin fixing your leaky faucet, gather the necessary supplies. The most common tools and parts required for this task include pliers, a wrench (adjustable or pipe), replacement faucet O-rings or washers, and possibly some thread seal tape or plumber’s grease. These tools will help you disassemble the faucet to identify and fix the leak at its source. For an even easier and faster repair, consider purchasing a leaky faucet repair kit that includes all the essentials.
Make sure your supplies are readily available before turning off the water supply to the faucet. This step is crucial as it allows you to work without constant interruptions and ensures a more efficient fixing process. With the right tools in hand, you’ll be ready to tackle the problem head-on, saving time and money on what’s usually a simple fix.
Step-by-Step Guide to Fixing a Leaky Faucet
Fixing a leaky faucet is an easy, DIY project that can save you money and reduce water waste. Here’s a step-by-step guide to help you get it done quickly and efficiently.
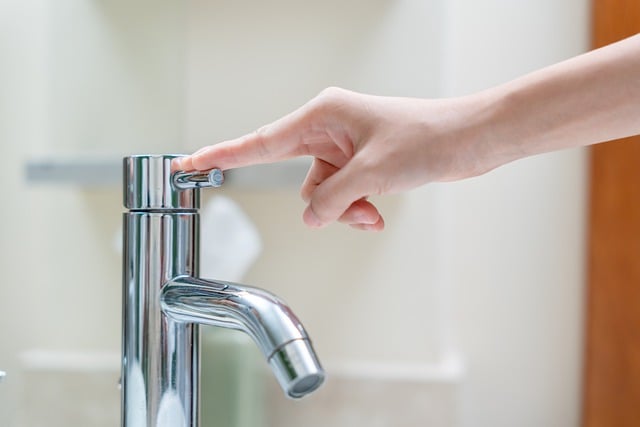
1. Turn Off the Water Supply: Before starting, locate your home’s main shut-off valve and turn the water off. This will prevent leaks while you work and make repairs neater. You can usually find this valve beneath a faucet in your basement or behind a utility panel.
2. Gather Your Tools: Gather basic tools like wrenches (adjustable or pipe), pliers, and a new washer or O-ring kit specific to your faucet model. These will be used to disassemble and replace the worn-out parts causing the leak.
3. Disassemble the Faucet: Remove the faucet handle and any decorative covers. You’ll then expose the main components: the stem, cartridge (for modern faucets), or the valve body (for older models). Be sure to note their orientation for proper reassembly later.
4. Identify and Replace Worn Parts: Inspect each part carefully. The most common cause of leaks is a damaged washer or O-ring. If these need replacing, do so, ensuring they fit securely. For a cartridge faucet, you might also need to replace the entire cartridge if it’s significantly worn.
5. Reassemble and Test: Once all new parts are in place, carefully reassemble the faucet, making sure everything lines up properly. Turn on the water supply at your main shut-off valve and test the faucet for leaks. If leaks persist, double-check your connections and replace any remaining faulty components.
Fixing a leaky faucet is easier than you think. By understanding common causes and gathering the right supplies, you can tackle this home repair quickly and effectively. Follow our simple step-by-step guide, and you’ll have saved money and preserved your precious water resources in no time. Stop that drip and regain control over your plumbing!