
A leaky faucet, caused by worn O-rings or washers, wastes water and increases bills. DIY repair is simple with tools like pliers, wrenches, new washers/O-rings, and sealing compound. Follow online guides for step-by-step instructions. Turn off water valves, remove handles, locate and replace the leak source, then tighten connections. Test for leaks; persistent issues require professional help.
Leaky faucets not only waste precious water but can also drive up your utility bills. Understanding how to repair one is an essential skill for any homeowner. This step-by-step guide will teach you how to identify, prepare, and fix a leaky faucet efficiently. By following these simple instructions, you’ll save water, money, and potentially prevent further damage to your plumbing system. Grab your tools, and let’s get started on repairing that pesky leak!
- Understanding the Problem: Identifying a Leaky Faucet
- Gathering the Necessary Tools and Materials
- Step-by-Step Guide to Fixing the Leak
Understanding the Problem: Identifying a Leaky Faucet
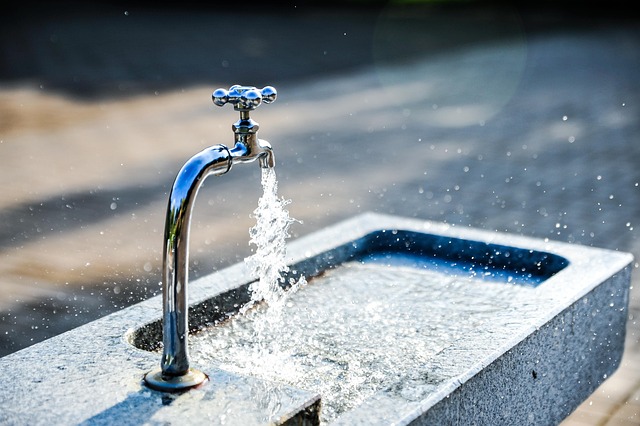
A leaky faucet is often an insignificant, yet persistent issue that can waste vast amounts of water and money over time. Understanding how to identify this problem is the first step in repairing it. Look out for signs such as dripping water at the base of the faucet or a continuous, even faint, trickle from the spout. These are clear indications that there’s a leak in the faucet’s internal mechanism.
When you recognize these symptoms, it’s time to investigate further. Check both the hot and cold water handles for any signs of damage or wear. The most common culprits behind leaky faucets are worn-out O-rings or washer components. With regular use, these parts can degrade and lead to leaks. Knowing how to fix a leaky faucet isn’t as complex as it seems; understanding its cause is the key to effective and efficient repair, saving you both water and money in the long run.
Gathering the Necessary Tools and Materials

Repairing a leaky faucet is an easy DIY project that can save both water and money. Before you begin, gather the necessary tools and materials, including pliers, adjustable wrenches, a new washer or O-ring (depending on your faucet’s design), and waterproof sealing compound. It’s important to note that these supplies are readily available at most hardware stores, making it a quick trip for any homeowner.
For larger fixtures or more complex repairs, you may also need a replacement cartridge or valve seat. How to Fix a Leaky Faucet involves understanding your faucet’s components and selecting the right parts. Once equipped with the essentials, follow simple step-by-step instructions from online guides or tutorials to tackle the issue head-on and stop that persistent drip.
Step-by-Step Guide to Fixing the Leak

Fixing a leaky faucet is an easy, cost-effective way to save water and money. Start by gathering the necessary tools: adjustable wrenches or pliers, replacement washers or O-rings (check your faucet model), and a new faucet repair kit if needed. Turn off the water supply valves located under the sink before beginning. Next, remove the faucet handle(s) using the appropriate tool, exposing the faucet’s internal parts. Locate the leak source—it’s usually the washer or O-ring—and replace it with the new part from your kit. Tighten all connections securely but avoid over-tightening to prevent damage. Once the repairs are complete, turn on the water valves and test the fixture for leaks. If the leak persists, consult a professional plumber for further assistance.
Repairing a leaky faucet isn’t just an effective way to save water and money, but also a simple DIY task that can significantly reduce your utility bills. By following this step-by-step guide, you’ve now armed yourself with the knowledge to identify and fix leaks quickly and efficiently. Remember, every drop counts – both in terms of preserving our precious resources and cutting down on unnecessary expenses. So, take action and make the change today!