A leaky faucet isn't just an annoyance but a sign of potential water waste and higher utility bills. To fix it, start by identifying the source at the base or neck of the faucet. If water still flows when turned off, worn-out parts like the washer or O-ring need replacing. Gather tools and materials, including a new washer, pliers, thread seal tape, and plumber's putty. Follow safety precautions, turn off the water supply, remove the old washer, clean the area, install a new one, and test for leaks. By following these simple steps, homeowners can efficiently address a common plumbing issue and prevent further water damage.
Tired of constant water waste due to a leaky faucet? Understanding how to replace a worn-out washer is key to fixing this common household issue. This step-by-step guide will walk you through the process, empowering you to tackle it yourself. First, identify the leak by understanding the problem. Then, gather the necessary tools and materials. Afterward, follow a simple, clear procedure to replace the washer and stop that pesky drip once and for all. Learn how to fix a leaky faucet efficiently with these easy tips!
- Understanding the Problem: Identifying a Leaky Faucet
- Gathering the Necessary Tools and Materials
- Step-by-Step Guide to Replacing a Worn-Out Washer
Understanding the Problem: Identifying a Leaky Faucet
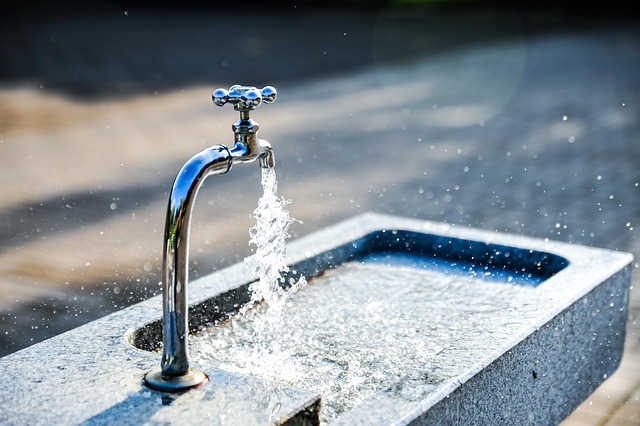
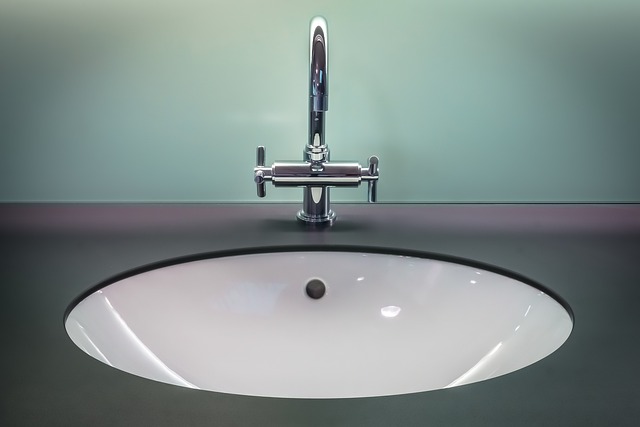
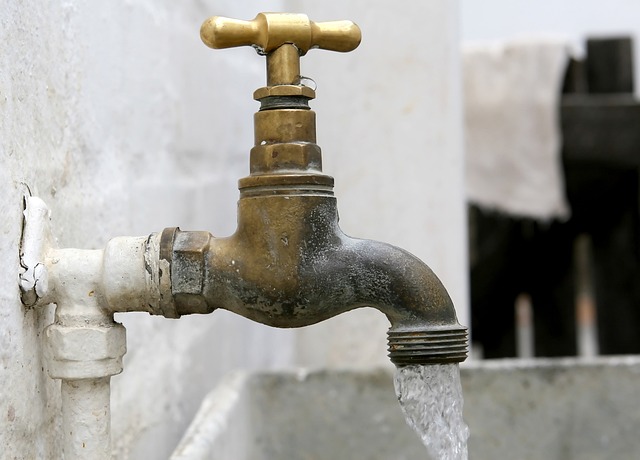
A leaky faucet isn’t just an annoyance; it’s a sign of a larger issue that could lead to water waste and higher utility bills. Understanding how to fix a leaky faucet is a valuable skill every homeowner should possess. The first step in fixing this problem is identifying its source. Most leaks occur at the base or the neck of the faucet where the spout meets the valve. Inspect your faucet carefully to determine if the leak is coming from these areas, often visible as drops or drips of water.
If you notice a continuous or intermittent flow of water even when the faucet is turned off, this indicates a potential problem with the washer or O-ring inside the faucet’s valve mechanism. The washer is a small circular component responsible for sealing the valve and stopping water flow. Over time, these parts wear out, leading to leaks. Knowing how to replace these parts is key in effectively fixing a leaky faucet and restoring your home’s water efficiency.
Gathering the Necessary Tools and Materials
Before you begin fixing your leaky faucet, it’s crucial to gather the right tools and materials. This typically includes a new washer, pliers or a wrench (to remove the old parts), and possibly some thread seal tape or plumber’s putty for extra sealing power. For more complex fixtures, you might need an adjustable wrench, a screwdriver, or even a new faucet stem. Having these essentials on hand ensures a smooth and efficient repair process, making your DIY project successful and saving you time and money in the long run.
When selecting a new washer, ensure it’s compatible with your faucet’s size and type. Washers come in various sizes and materials, such as plastic or rubber, each offering different levels of water tightness. It’s also beneficial to check your local hardware store for any specific recommendations from experts who have experience with leaky faucet repairs. With the right tools and a little know-how, you’ll be well on your way to fixing that annoying leak and mastering the art of How to Fix a Leaky Faucet.
Step-by-Step Guide to Replacing a Worn-Out Washer

Replacing a worn-out washer is a straightforward process that can effectively fix a leaky faucet. Here’s a step-by-step guide to help you get the job done efficiently:
1. Turn Off the Water Supply: Before starting, remember to close the valve under the sink to stop the water flow. This prevents any flooding during the replacement process. You can test this by turning on the faucet; if it doesn’t budge, the supply is cut off.
2. Remove the Old Washer: Grip the worn-out washer with pliers or your fingers and twist counterclockwise until it pops out. Be gentle to avoid damaging the parts underneath. Once removed, inspect the faucet stem for any debris or corrosion that might have contributed to the leak.
3. Clean and Prepare: Clean the area where the washer sat using a cloth or wire brush to remove any remaining traces of the old washer. Ensure the surface is free from dirt or rust. This step is crucial as it allows for a secure bond with the new washer.
4. Install the New Washer: Take the new washer, align it carefully over the stem, and twist it clockwise until it’s securely in place. Don’t overtighten to avoid damage.
5. Reopen the Water Supply: After replacing the washer, open the valve slowly under the sink to reintroduce water into the system. Turn on the faucet briefly to check for leaks. If everything is sealed properly, your leaky faucet should be fixed.
Repairing a leaky faucet is an easy, cost-effective way to refresh your bathroom or kitchen. By understanding the problem – often a worn-out washer – and gathering just a few simple tools, you can effectively fix a leaky faucet in no time. Following our step-by-step guide ensures a successful replacement process, rendering that persistent drip a thing of the past. Learn how to fix a leaky faucet today and save money while enhancing your home’s value.