DIY pipe insulation is a valuable home improvement project that prevents heat loss/gain, protects against freezing pipes, reduces energy consumption, and lowers heating bills. Using materials like foam insulation, duct tape, and trimming tools, homeowners can enhance plumbing system longevity and create a comfortable living environment. The straightforward process involves measuring pipes, cleaning the area, applying foam with 1 inch overlap, securing ends/overlaps, and sealing gaps with silicon sealant.
Looking to tackle a cost-effective, energy-efficient home improvement project? DIY pipe insulation could be the solution. This comprehensive guide breaks down why insulating your pipes is essential for maintaining comfortable temperatures and reducing energy bills. We’ll walk you through the benefits, the materials and tools needed, and provide a step-by-step process to successfully install pipe insulation yourself – saving you time and money. Discover how this simple DIY project can make a big impact.
- Understanding Pipe Insulation: Its Benefits and Necessity
- Materials and Tools for DIY Pipe Insulation
- Step-by-Step Guide to Installing Pipe Insulation Yourself
Understanding Pipe Insulation: Its Benefits and Necessity

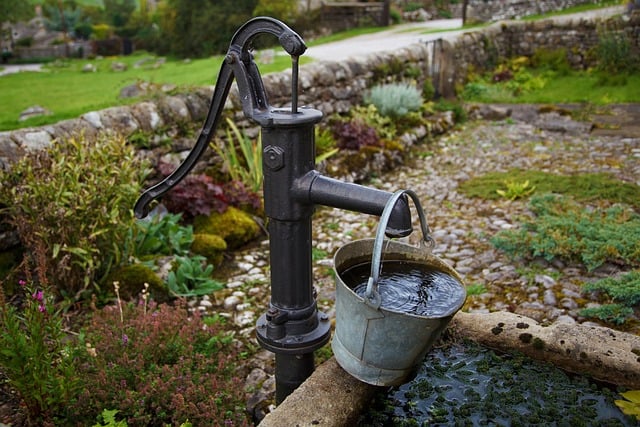
Pipe insulation is an essential component for any home or building maintenance routine, offering a range of benefits that extend far beyond just temperature regulation. By wrapping pipes with insulating material, you’re not only preventing heat loss (or gain) but also safeguarding against freezing pipes during cold months, which can otherwise lead to costly bursts and leaks. This DIY project is particularly valuable for homeowners looking to enhance energy efficiency and lower heating bills.
The process of DIY pipe insulation is straightforward and accessible to most do-it-yourselvers. With the right materials like insulation tape, foam pipes covers, or pre-made insulation sleeves, you can insulate various types of pipes, including hot water heaters, radiators, and even outdoor hoses. Not only does this simple task contribute to a more comfortable living environment, but it also plays a crucial role in preserving the longevity of your plumbing system.
Materials and Tools for DIY Pipe Insulation
When tackling DIY pipe insulation, having the right materials and tools is key for a successful and efficient project. Start by gathering foam pipe insulation in the appropriate length and diameter for your pipes. Look for products made from materials like polyethene or fiberglass, which offer excellent thermal resistance and durability. Additionally, stock up on duct tape, a crucial binding tool that ensures the insulation stays secure around the pipes. A utility knife or scissors will be handy for trimming the insulation to fit perfectly.
Don’t forget protective gear such as gloves and safety glasses to safeguard yourself during the process. For larger projects, consider investing in a heat gun to speed up the installation by softening and expanding the foam for easier application. With these essentials at your disposal, you’ll be well-prepared to tackle DIY pipe insulation like a pro.
Step-by-Step Guide to Installing Pipe Insulation Yourself
Installing pipe insulation yourself is a cost-effective way to improve energy efficiency and prevent freezing pipes during cold weather. Here’s a step-by-step guide to help you get started.
1. Measure Your Pipes: Determine the length of pipes that need insulation using a tape measure. Cut foam pipe insulation to fit these lengths with a utility knife, ensuring there’s at least 1 inch of overlap between segments.
2. Clean and Prepare the Area: Remove any debris or existing insulation from around the pipes. Use a wire brush to scrape off old sealant if necessary, ensuring a clean surface for new installation.
3. Apply Insulation: Starting at one end of the pipe, press the foam insulation firmly into place, pushing it tight against the pipe and adjacent insulation. Continue installing in segments, overlapping each piece by 1 inch, until the entire pipe is covered.
4. Secure with Tape: Use aluminum or duct tape to secure the ends and overlaps of the insulation. Ensure the tape is tightly wrapped around the pipes for a secure fit.
5. Seal Joints (if needed): If there are any gaps or joints in the insulation, apply a bead of silicon sealant using a caulk gun to create an airtight seal.
Pipe insulation isn’t just a niche home improvement project—it’s a key step in energy conservation and plumbing maintenance. By insulating your pipes, you can prevent freezing during cold months, reduce heat loss, and lower your heating bills. DIY pipe insulation is accessible to everyone, and with the right materials and a few simple steps, you can do it yourself, contributing to a more efficient home and potentially saving money in the long run.