
Leaky faucets waste water and money. Identify common causes like worn O-rings or mineral buildup. Gather tools (wrenches, pliers, sealant) and understand your faucet type (compression, cartridge, ceramic disk). Turn off the water supply, remove the handle, replace or clean internal parts, then test the repair. Prompt action saves resources and bills.
Leaky faucets not only waste precious water but also cost you money in the long run. Luckily, fixing a leaky faucet is a straightforward DIY project that can save both resources and cash. Understanding the causes and common types of leaks is the first step. Armed with the right tools and materials, you can follow a simple, step-by-step guide to effectively fix the problem. Learn how to stop that persistent drip and start saving today!
- Understanding Leaky Faucets: Causes and Common Types
- Gathering Tools and Materials for the Repair
- Step-by-Step Guide to Fixing a Leaky Faucet
Understanding Leaky Faucets: Causes and Common Types
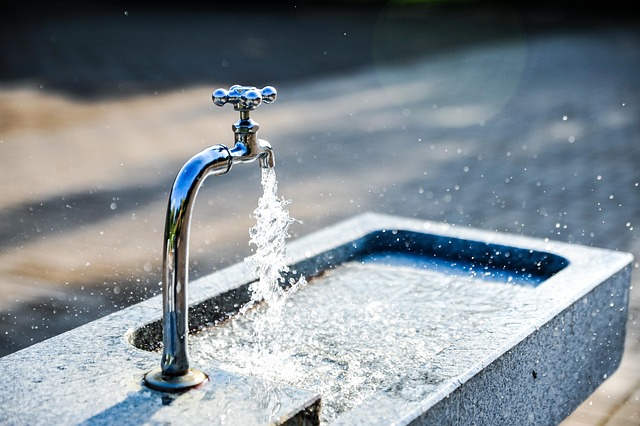
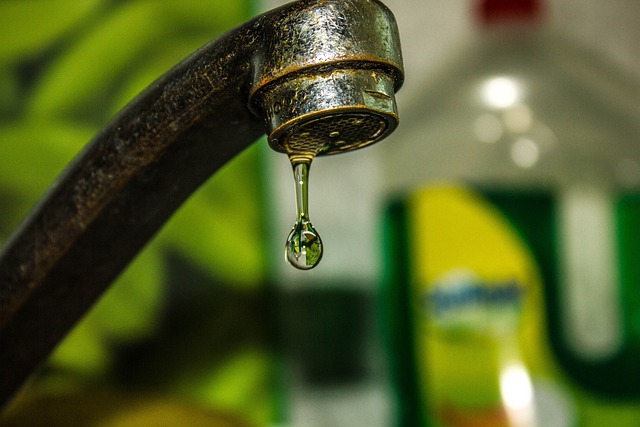
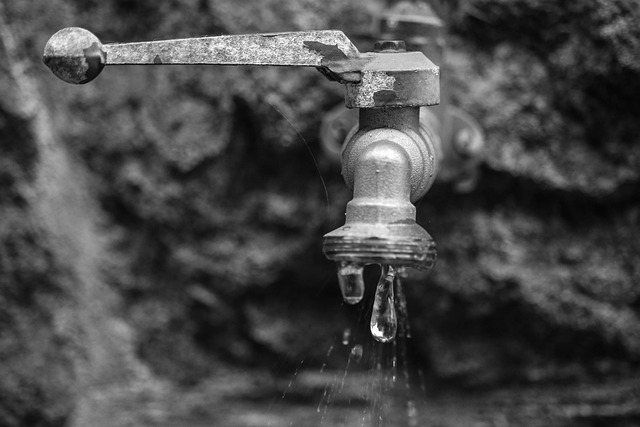
Leaky faucets are a common household issue that not only causes frustration but also leads to unnecessary water wastage and higher utility bills. Understanding the root causes and types of leaks is the first step in learning how to fix a leaky faucet. The most frequent culprits behind these pesky problems include worn-out O-rings or washer cartridges, which are integral parts of the faucet’s internal mechanism. Over time, these components can degrade due to mineral buildup, corrosion, or simply normal wear and tear, resulting in leaks at the base or spout of the faucet.
Another common type is a leaky aerator, particularly in modern faucets equipped with advanced flow-regulating features. The aerator, responsible for mixing air with water, can become contaminated with sediment, leading to a constant, often subtle, leak. Identifying the specific source of the leak is key when it comes to effective how to fix a leaky faucet solutions, whether it’s a quick replacement of easily accessible parts or a more intricate disassembly and cleaning process.
Gathering Tools and Materials for the Repair
Before starting any repair, it’s crucial to gather the right tools and materials for fixing a leaky faucet. This typically includes a wrench or pliers for unscrewing parts, a new O-ring or washer (often made of rubber or Teflon), and some pipe sealant. Additionally, you might need an adjustable wrench, a screwdriver, and a bucket to catch any dripping water while you work. Having these essentials on hand will make the repair process smoother and more efficient, ensuring you can get the job done without unnecessary hassle.
Once you have your tools ready, the next step is to assess the type of faucet you have—compression, cartridge, or ceramic disk—as this will determine the specific steps for replacement. Following how-to guides or consulting a professional can help if you’re unsure about the process. Remember, saving water and money starts with fixing leaks promptly and efficiently.
Step-by-Step Guide to Fixing a Leaky Faucet
Fixing a leaky faucet is an easy DIY project that can save you water and money. Here’s a step-by-step guide to tackling this common household issue. Start by turning off the water supply to your faucet. Most homes have shut-off valves under the sink or nearby. This prevents any unnecessary water loss during the repair process. Next, gather the necessary tools: a wrench or pliers for unscrewing parts, a new O-ring or washer (choose one that matches your faucet’s size), and some plumbing tape (optional but recommended). Remove the faucet handle by unscrewing it counterclockwise with your tool of choice. Be careful not to lose any small parts as you disassemble. Once the handle is off, expose the faucet’s internal components. Locate the O-ring or washer that creates the water seal—it’s usually a small, rubbery part—and compare its condition to a replacement. If it’s worn out, damaged, or hard to align, replace it with a new one. Ensure a proper fit and secure it in place using your hands or a thin layer of plumbing tape. Reassemble the faucet by putting back on the handle and tightening any screws. Turn on the water supply and test the repair by turning on the faucet. If water leaks, double-check all connections and ensure the new O-ring or washer is properly seated.
Repairing a leaky faucet isn’t just an eco-friendly way to save water and reduce your utility bills, but it’s also a straightforward DIY project that can add value to your home. By following these simple steps and gathering the right tools, you can tackle this common issue head-on. Remember, every drop counts, and with a little know-how, you can make a significant impact. So, why wait? It’s time to roll up your sleeves and learn how to fix that leaky faucet once and for all!