
Before fixing a leaky faucet, assess its severity and identify the type of leak (handle or spout) by examining for damage and observing water flow. Gather essential tools like wrench, pliers, replacement washer/O-ring, pipe sealant, adjustable wrench, screwdriver, and a bucket. Remove handle and decorative covers to access internal components, replace worn parts, then reassemble and test for leaks.
Struggling with a leaky faucet? Don’t call a plumber just yet! This ultimate guide walks you through fixing that pesky problem yourself. From identifying the type of leak to disassembling, repairing, and reassembling your faucet, we’ve got you covered. Grab your tools and get ready to transform your kitchen or bathroom without breaking the bank. Learn the art of tackling leaks with this step-by-step “How to Fix a Leaky Faucet” tutorial.
- Assess the Leak and Gather Tools
- – Identifying the type of leak
- – List of necessary tools and supplies
Assess the Leak and Gather Tools
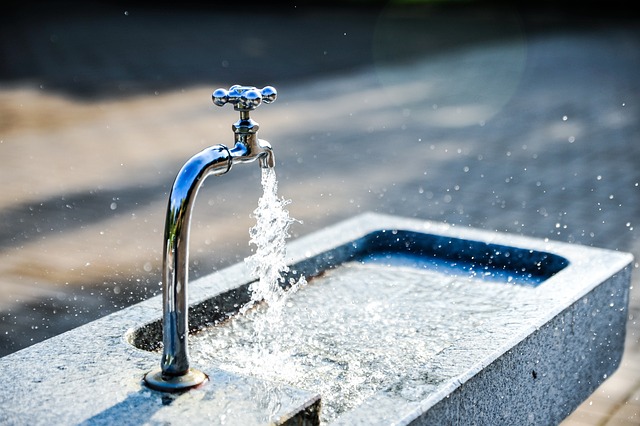
When faced with a leaky faucet, the first step is to assess the extent and cause of the leak. Check both the hot and cold water handles for any visible signs of damage or wear. Observe the flow of water—is it a steady drip or a gushing sound? Understanding these details will guide your repair process.
Gathering the right tools is crucial for successfully fixing a leaky faucet. You’ll need some basic items like a wrench (adjustable or pipe), pliers, and a new washer or O-ring (specific to your faucet model). Additionally, have a bucket ready to catch any excess water as you work. With these essentials on hand, you’re prepared to tackle the problem head-on and learn how to fix a leaky faucet without calling a plumber.
– Identifying the type of leak

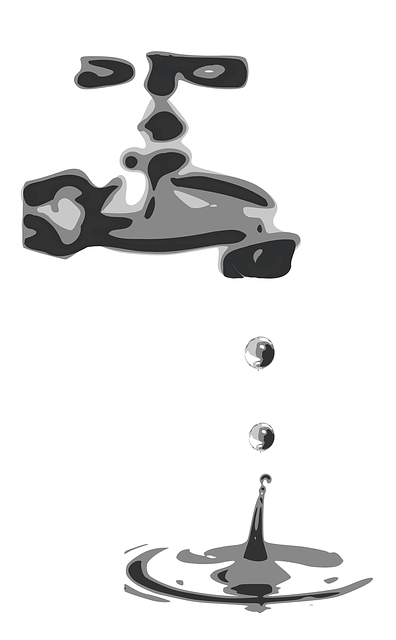
Leaky faucets can be frustrating, but identifying the type of leak is the first step in learning how to fix a leaky faucet yourself. Start by observing the water flow and checking for visible signs of damage or wear. Is the leak coming from the base of the faucet handle, the neck where it meets the spout, or both? A leak at the handle typically indicates a sealing issue with the cartridge or washer inside. For leaks at the spout, it might be a damaged or worn-out O-ring or aerator. Understanding the source will guide you in gathering the right replacement parts for your DIY repair.
Once you’ve identified the leak’s origin, it’s time to gather the necessary tools and parts. Common solutions include cartridge replacements for most modern faucets, while older models may require washer or O-ring swaps. Follow these steps: remove the handle and any decorative covers, access the internal mechanism, replace worn components, then reassemble and test for leaks. This process may vary slightly depending on your faucet’s design but is generally straightforward when you know how to fix a leaky faucet.
– List of necessary tools and supplies
Before you begin fixing your leaky faucet, make sure you have all the necessary tools and supplies on hand. The basics include a wrench or pliers for removing the faucet handle and aerator, a new O-ring or washer (which is often the culprit behind leaks), and some pipe sealant or thread sealant to prevent future leaks. You might also need an adjustable wrench, a screwdriver, and a bucket to catch any water that may spill during the process. Having these tools readily available will make the repair process smoother and more efficient, allowing you to tackle your leaky faucet like a pro with minimal hassle.
Fixing a leaky faucet is an easy DIY project that can save you money and reduce water waste. By assessing the leak, gathering the right tools, and following simple steps, you can tackle this common issue without calling a plumber. Remember, knowledge is power—and with this guide, you’re now equipped to stop that drip and create a more efficient home.