Pool table assembly requires specialized tools like t-bar clamps, leveling wedges, slate levellers, and corner brackets for precision and quality. Following a straightforward process, assemble components, secure legs, construct the framework, install the playing surface, pockets, rails, and accessories, then add the ball set and chalk. Use a spirit level and adjustable feet to ensure a solid, level table for optimal playing experience.
Unleash your inner billiards master with our comprehensive guide to pool table assembly. From understanding the essential equipment to mastering advanced setup techniques, this article covers everything you need to know for a successful DIY pool table installation. Learn about specialized tools and their unique functions, follow a step-by-step process tailored for home assemblers, and discover expert tips to ensure your table is solid, level, and ready for intense games with friends and family.
- Understanding Pool Table Assembly Tools and Their Function
- Step-by-Step Guide to Assembling a Pool Table at Home
- Advanced Techniques for Ensuring a Solid and Level Pool Table Setup
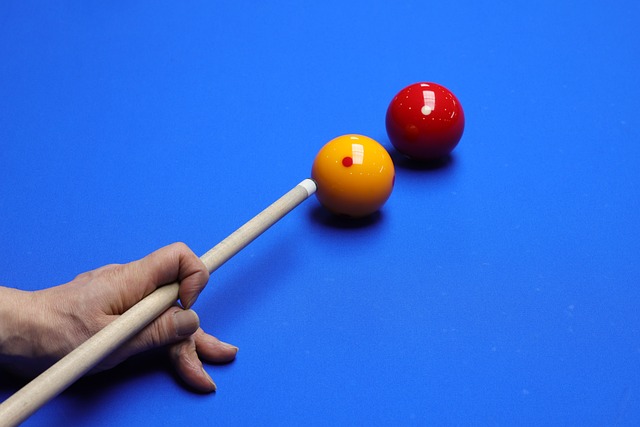
Understanding Pool Table Assembly Tools and Their Function
Pool table assembly is a meticulous process that requires the right tools to ensure precision and quality. The equipment used in this task is designed to simplify the intricate steps involved in putting together a pool table, from aligning the slate to securing the legs. Each tool serves a specific purpose, making the job easier for both amateur enthusiasts and professional installers.
For instance, t-bar clamps are commonly used to hold components in place while securing them with screws or bolts. Leveling wedges help adjust the table’s height and ensure it sits evenly on the floor. Additionally, specialized tools like slate levellers and corner brackets facilitate the alignment and support of the heavy slate top. These assembly tools are essential for achieving a sturdy, level, and accurate pool table setup, ultimately enhancing the playing experience.
Step-by-Step Guide to Assembling a Pool Table at Home
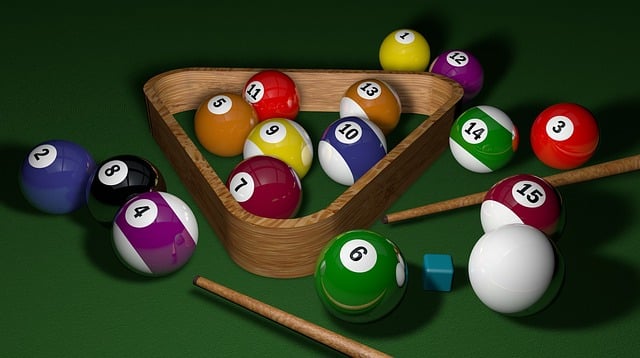
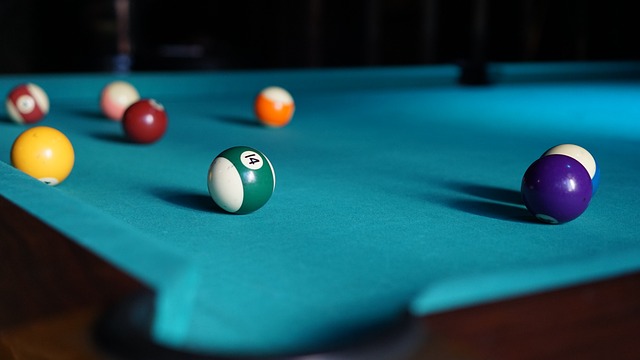
Assembling a pool table at home can be a rewarding project, allowing you to create a custom gaming space tailored to your preferences. Here’s a step-by-step guide designed to help you navigate this process seamlessly. Begin by gathering all necessary components and tools, ensuring every piece is included in the delivery or purchased separately. Next, find a suitable location for your table, considering both size and accessibility. Clear the area of any obstacles to ensure smooth assembly.
Follow the manufacturer’s instructions diligently, beginning with unboxing each component carefully. Mark the corners of the table and legs for proper alignment. Connect the legs securely to the table frame using provided hardware, ensuring stability at every joint. Once the framework is assembled, attach the playing surface by laying it down and securing it according to the guidelines. Finally, install pockets, rails, and any additional accessories before adding the final touches, such as the ball set and chalk.
Advanced Techniques for Ensuring a Solid and Level Pool Table Setup

When assembling a pool table, achieving a solid and level setup is paramount for optimal play. One advanced technique involves using a spirit level to ensure all legs are perfectly aligned and the table top lies flat. This meticulous approach guarantees that the playing surface is even, crucial for consistent ball movement and accurate shots.
Additionally, employing adjustable feet can further refine the setup process. These feet allow for precise height adjustments, accommodating any slight unevenness in the floor. By combining these advanced techniques, pool table assembly becomes a seamless process, ensuring players enjoy a seamless and challenging game on a level playing field.
Assembling a pool table at home can be a rewarding DIY project, but it requires the right tools and techniques. By understanding the purpose of each pool table assembly equipment and following a comprehensive guide, you’ll achieve a solid and level setup. With advanced techniques in place, your pool table will not only look great but also provide years of enjoyable gameplay. Now that you’re equipped with knowledge, take on the challenge and transform your space into a vibrant hub for both fun and competition!