A running toilet wastes water and money; identify symptoms like a moving float arm. Prepare DIY tools & materials (pliers, wrench, O-rings, silicone sealer) to fix it. Locate the flush valve, adjust the float arm, and check for leaks around the fill valve. Replace worn parts to stop the leak and save resources.
Tired of that relentless running toilet? This ultimate guide empowers you to fix it yourself, no plumber required! Understanding the problem is key; identifying signs of a running toilet is the first step. Then, equip yourself with the necessary tools and materials for a successful repair. Follow our simple, detailed step-by-step guide and learn how to stop that persistent flow, saving time and money while gaining valuable DIY skills.
- Understanding the Problem: Identifying a Running Toilet
- Tools and Materials Needed for Repair
- Step-by-Step Guide to Fixing a Running Toilet
Understanding the Problem: Identifying a Running Toilet

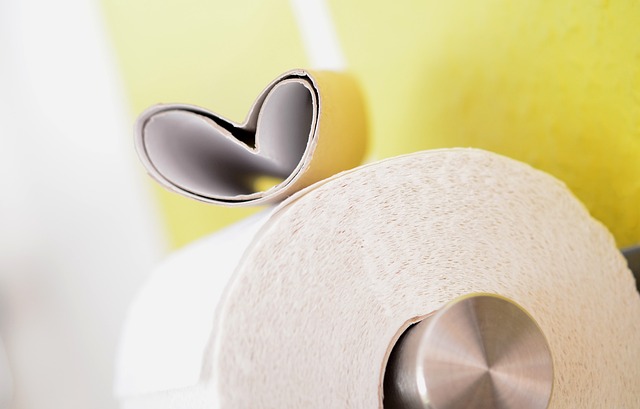
A running toilet is a common household issue that can waste significant amounts of water and drive up your utility bills. Understanding the problem starts with identifying its telltale signs. One of the most obvious indicators is continuous dripping from the faucet or a constant flow of water from the tank, even when the flush mechanism isn’t engaged. You may also notice persistent movement of the float arm in the toilet tank, which controls water levels and flushing. This excessive water usage can lead to not only higher water costs but also potential damage to your plumbing system over time.
By recognizing these symptoms, you’re taking the first step towards fixing a running toilet. The next section will guide you through simple DIY techniques to stop this wasteful leak and save both water and money—all without needing a plumber!
Tools and Materials Needed for Repair
When it comes to fixing a running toilet, having the right tools and materials is essential for a successful DIY repair. Here’s what you’ll need:
1. Pliers: A pair of adjustable pliers will come in handy for gripping and turning hard-to-reach bolts and nuts.
2. Wrench: A standard wrench, preferably with various sizes, allows you to loosen or tighten fittings securely.
3. Taps or Screwdrivers: Depending on your toilet model, you might need flathead or Phillips screwsdrivers to access and adjust specific components.
4. New O-rings and Flapper: These are often the culprits behind a running toilet. Ensure you get replacements that fit your specific toilet model.
5. Silicone Sealer: Used to seal the flapper and other moving parts, preventing leaks.
6. Bucket and Cleaning Solutions: To catch water and dispose of old parts, as well as clean any debris or mineral deposits.
Step-by-Step Guide to Fixing a Running Toilet

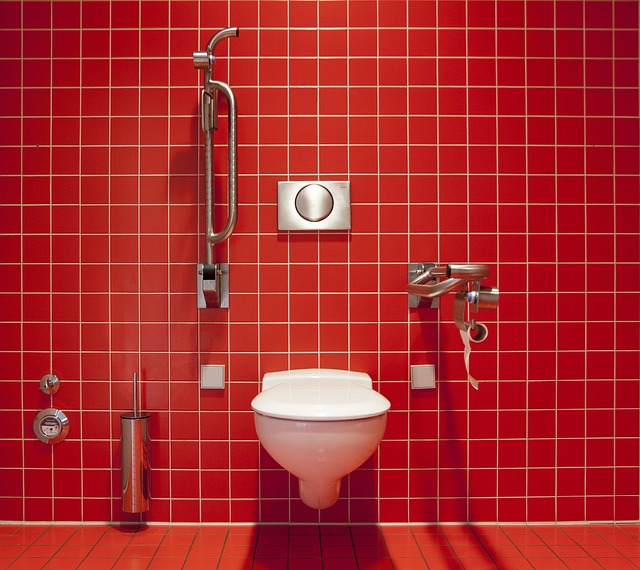
Fixing a running toilet is an easy DIY project that can save you money and reduce water waste. Here’s a step-by-step guide to help you stop the constant flow. First, locate the toilet’s flush valve—usually at the back of the tank—and turn off the water supply by closing the valve. This prevents any more water from entering the tank while you work. Next, remove the lid and access the internal components. Identify the float arm, which controls the water level in the tank. Adjusting this arm is often the simplest fix for a running toilet. Ensure it’s positioned correctly to stop the water from filling beyond the overflow mark. If the problem persists, check for leaks around the fill valve and replace any worn-out parts.
Fixing a running toilet is an easy, cost-effective task that anyone can handle with the right knowledge. By understanding the problem and following a simple step-by-step guide, you can stop that persistent drip and save money on your water bills. No more calling plumbers for minor issues! With these DIY skills, you’ll be well-equipped to tackle future plumbing problems too. So, dive into this ultimate guide and learn how to stop a running toilet in no time.