Leaky faucets waste water and raise utility bills. Understanding common causes and specific types helps in efficient fixes. Gather essential tools including wrenches, pliers, replacement parts, and sealant. Turn off water supply, remove handle and aerator, replace O-ring/washer, reattach securely, and test for leaks.
Leaky faucets aren’t just an annoyance; they waste precious water and can significantly impact your utility bills. Understanding how to fix them is an essential skill for any homeowner looking to save money and protect the environment. This guide will walk you through identifying common causes, gathering the right tools, and providing a step-by-step process to repair that leaky faucet efficiently. Learn how to tackle this issue head-on and start saving today!
- Understanding Leaky Faucets: Common Causes and Types
- Tools and Materials Required for Repair
- Step-by-Step Guide to Fixing a Leaky Faucet
Understanding Leaky Faucets: Common Causes and Types
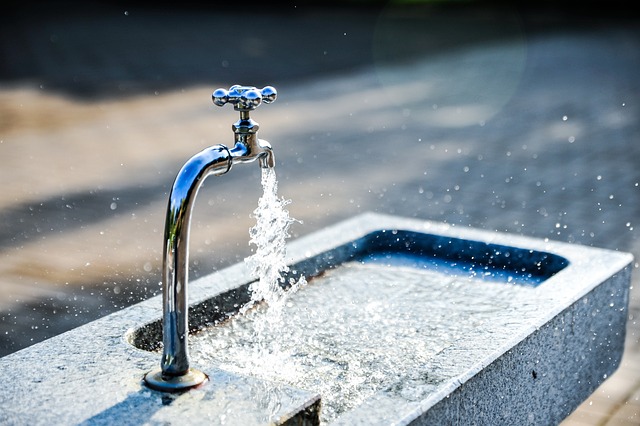
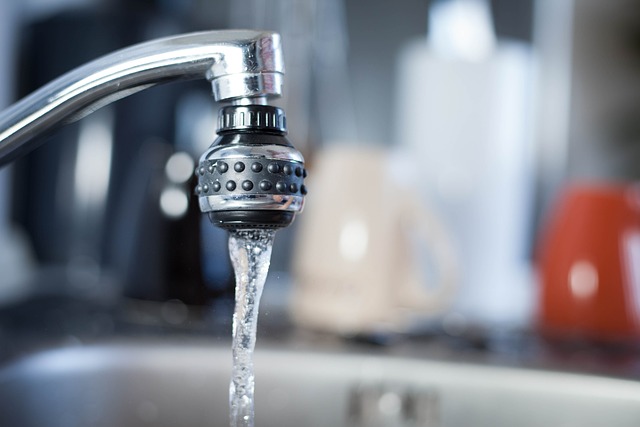
Leaky faucets are a common household issue, wasting not only water but also money on your utility bills. Understanding the root causes and types of leaks is the first step in learning how to fix a leaky faucet effectively. The most prevalent reasons include worn-out washer or cartridge components, damaged O-rings, or loose connections within the faucet’s internal mechanism.
There are several types of leaky faucets, such as kitchen sink leaks, bathroom faucet drips, and bathtub faucet leaks. Each type may require specific tools and replacement parts to address. For instance, a kitchen sink leak could be due to an erodant washer, while a bathroom faucet drip might involve an old or damaged O-ring. Knowing how to identify these issues is key to efficiently fixing a leaky faucet and saving resources.
Tools and Materials Required for Repair

To successfully repair a leaky faucet, you’ll need just a few essential tools and materials. Gather a set of pliers or adjustable wrenches for gripping and turning components firmly but gently. A bucket or tray can come in handy to catch any leftover parts or water as you work. For most repairs, you’ll require replacement faucet O-rings or washers, which are typically made from durable rubber or silicone. These simple yet crucial components seal the joints where water leaks out. Don’t forget a new packing nut, which helps create a watertight seal around the faucet’s stem. With these tools and materials in hand, you’re ready to embark on fixing your leaky faucet – a straightforward DIY project that can save both water and money.
Step-by-Step Guide to Fixing a Leaky Faucet
Fixing a leaky faucet is an easy DIY project that can save water and money. Start by gathering the necessary tools: adjustable wrench, pliers, replacement washer or O-ring (check your faucet’s model), and new sealant (if needed). Turn off the water supply to your faucet under the sink using the shut-off valves located behind or beneath it. This is crucial to prevent any unexpected water discharge during the repair process.
Next, remove the faucet handle and aerator by twisting them counterclockwise with the wrench or pliers. Once these are removed, you’ll access the internal parts of the faucet. Locate the leaky O-ring or washer; it’s usually a small, rubbery component that seals the valve. Remove the old one carefully and replace it with the new one, ensuring a tight fit. If your faucet uses an O-ring instead of a washer, check its condition and replace it if necessary. After replacing the worn-out parts, reattach the handle and aerator, securing them firmly. Finally, turn on the water supply and check for leaks.
Repairing a leaky faucet isn’t just an effective way to save water and money, but also a simple DIY project that can be completed in just a few steps. By understanding the common causes and types of leaks, arming yourself with the right tools and materials, and following a clear guide, you can effectively fix your leaky faucet and enjoy long-term savings on both your water bills and your wallet.