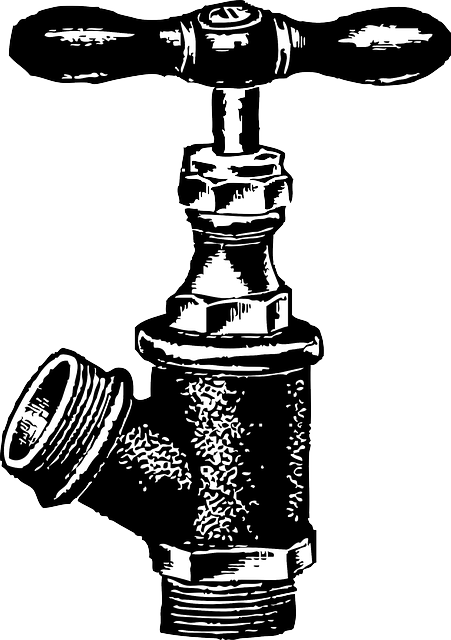
To fix a leaky faucet (How to Fix a Leaky Faucet), start by assessing the leak's source and understanding your faucet's type—cartridge or washer system. Inspect components like valve seats, O-rings, gaskets, washers, and cartridges for damage, wear, or debris. Check for corrosion/rust, tighten loose parts, but avoid overtightening. This visual inspection helps determine DIY feasibility or the need for professional assistance, ensuring efficient problem resolution.
Don’t Ignore That Drip! Fixing a leaky faucet is an essential DIY task that can save you money and water. Learn how to tackle this common issue head-on with our comprehensive guide. We’ll walk you through every step, from identifying the leak’s source (drip, spray, or gush) using visual inspection techniques to gathering the right tools and materials, including essential parts like cartridges, washers, seals, and valves. By following these simple instructions, you’ll be on your way to a drip-free future. Say goodbye to wasted water and hello to cost savings!
- Assessing the Leak: Identifying the Source and Type
- – Understanding different types of leaks: drip, spray, or gush
- – Visual inspection techniques to pinpoint the source
Assessing the Leak: Identifying the Source and Type
When faced with a leaky faucet, the first step in learning how to fix a leaky faucet is assessing the leak. Start by observing where the water is coming from—is it at the base of the faucet handle, the spout, or both? This observation will help you identify the source of the problem. Different types of leaks require different solutions, so understanding the specifics of your leak is crucial for effective fixing.
Next, consider the type of faucet you have. Modern faucets often have a cartridge or disk mechanism that controls water flow, while older models might use a washer system. Knowing the type will help you gather the right tools and parts needed for the repair, making the process smoother and more efficient.
– Understanding different types of leaks: drip, spray, or gush

Leaky faucets can range from a mere drip to a steady spray or even a gushing flow, each presenting unique challenges. Identifying the type of leak is the first step in knowing how to fix a leaky faucet effectively. A simple drip usually indicates a seal or washer issue, which is relatively easy to address. Spraying water suggests a damaged or misaligned aerator, a quick and straightforward fix. However, a gushing leak could signal more severe problems like broken pipes or faulty valve seats, requiring professional attention.
Understanding these variations allows homeowners to approach the repair process with confidence. Whether it’s replacing worn-out parts or thoroughly cleaning hard-to-reach areas, knowing how to fix a leaky faucet means you’re equipped to handle minor plumbing issues, saving time and money in the long run.
– Visual inspection techniques to pinpoint the source
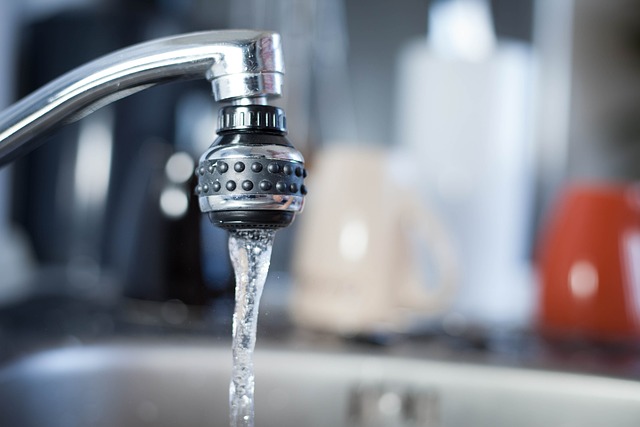
When faced with a leaky faucet, the first step is a thorough visual inspection. Start by checking the faucet’s components, including the valve seats, O-rings, and gaskets. These are common areas where leaks originate. Look for any signs of damage, wear, or debris that might obstruct the water flow. A steady drip often indicates a problem with the washer or cartridge, while a sporadic leak could point to faulty valves.
During your inspection, pay close attention to the faucet’s structure and connections. Tighten any loose parts, but be mindful not to overtighten, as this can cause damage. If you notice corrosion or rust, it might be best to replace the affected parts, as these issues can contribute to leaks. By identifying the specific source of the leak, you’ll be better equipped to employ effective DIY repairs or know when professional assistance is required.